
Last updated October 31, 2026
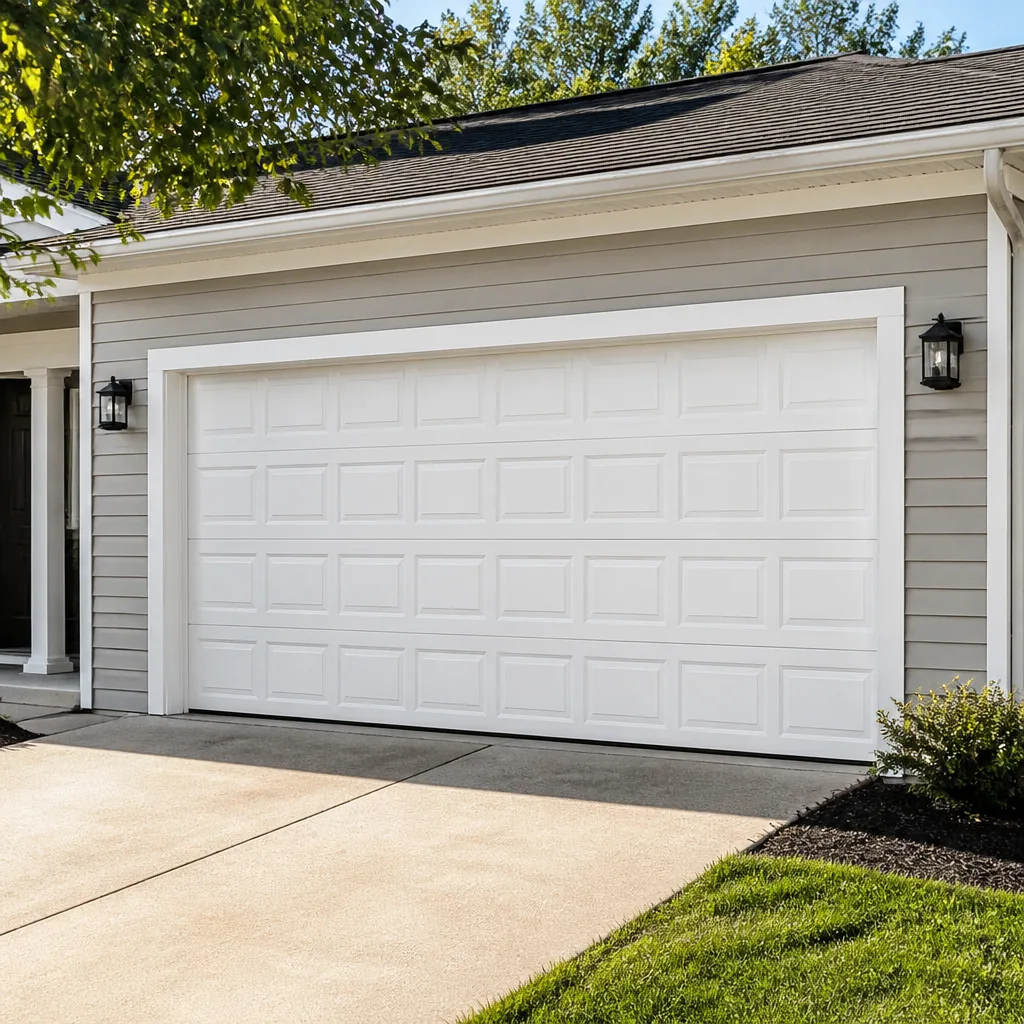 Raised-panel steel
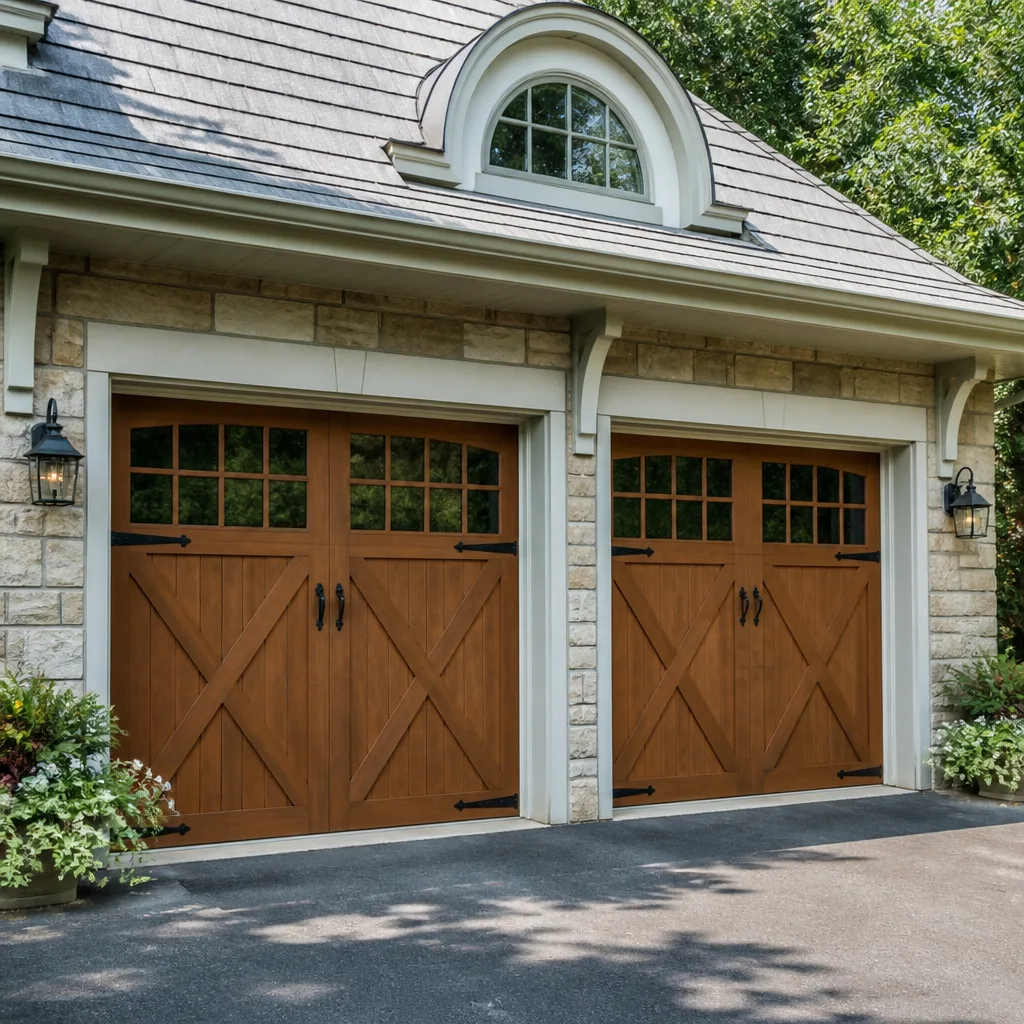 Carriage house
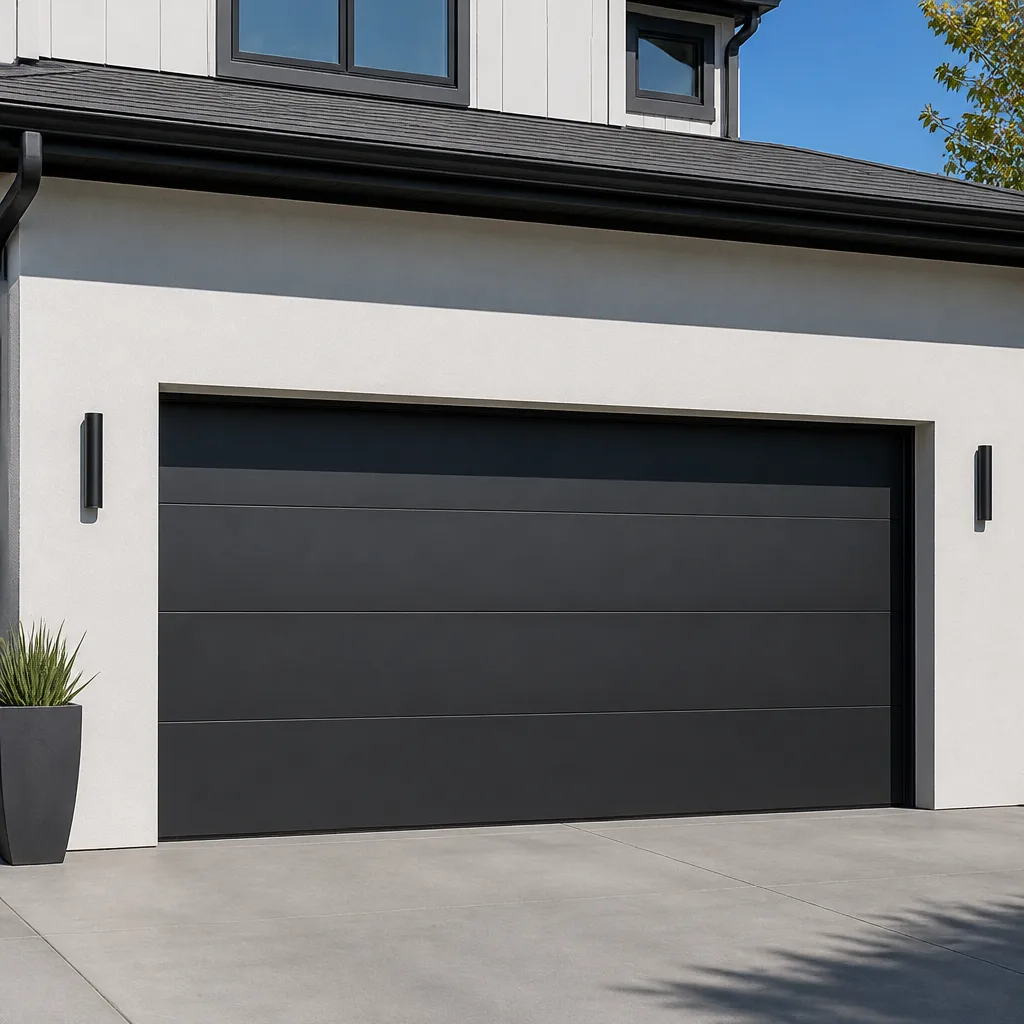 Modern flush
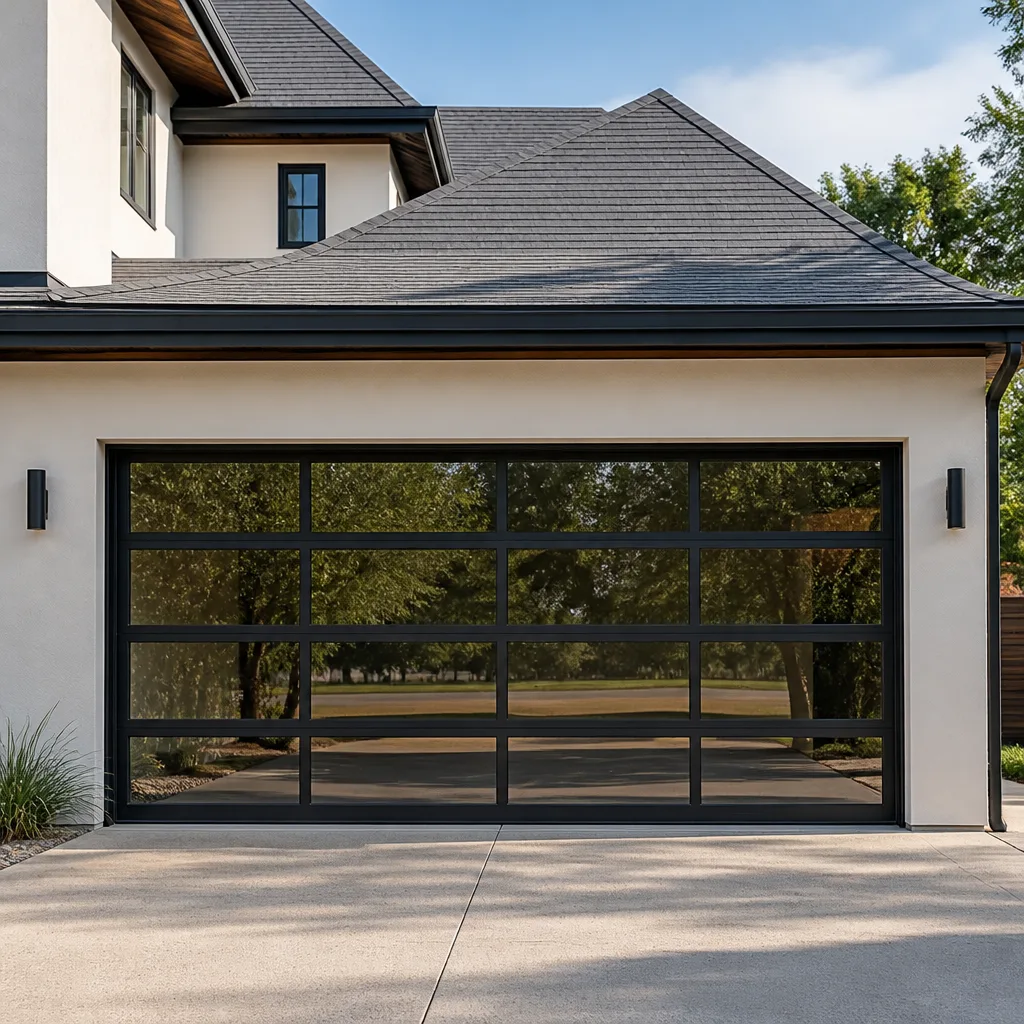 Full-view glass
 LiftMaster openers
 Chamberlain openers
Full 25-point door and opener safety check with every visit - springs, cables, rollers, tracks, and your LiftMaster or Chamberlain opener included
You get a price before we start. It does not change when the truck arrives.
Get your free estimateGarage Door Repair Maintenance Checklist for Los Angeles Homeowners
Here’s a pattern we see every week in Los Angeles: a homeowner insists they’ve been maintaining their garage door, but the torsion spring still snapped at year four, or the bottom bracket crumbled at year six. The reason is almost always the same. They followed a generic checklist written for a climate without marine layer, without Santa Ana dust, without the specific failure cascade that comes from coastal air hitting galvanized steel. This guide is different. We’ve organized it by the components that actually fail in Los Angeles, with timelines calibrated to what we see across the city, from San Pedro to Sherman Oaks. You’ll learn what to inspect monthly, what to leave strictly to a technician, and why your opener’s brand determines which maintenance steps actually matter.
Quick Answer
A garage door maintenance checklist for Los Angeles homeowners should prioritize quarterly visual inspections of springs, cables, and bottom brackets for corrosion, monthly safety reversal tests, and seasonal lubrication of rollers and hinges with a silicone-based lubricant. In LA’s coastal zones, corrosion inspection outranks lubrication; in inland zones, dust and particulate buildup on tracks and logic boards should be your primary concern. Most importantly, never include torsion spring adjustment or cable replacement on a DIY checklist – those jobs carry serious injury risk and belong with our Garage Door Repair services.
Styles & brands we work with
Table of Contents
- Why LA Garage Doors Fail on a Different Clock
- The Monthly Inspection Sequence, Component by Component
- Coastal Salt Air vs. Inland Particulate: Two Different Maintenance Regimes
- Opener-Specific Maintenance: Belt, Chain, and Jackshaft Are Not the Same Job
- RF Interference in Dense LA Neighborhoods and How to Test for It
- Safety Reversal Sensor Testing and Recalibration
- What You Can Safely Do vs. What Belongs to a Technician
- Seasonal Deep Maintenance: The Twice-Yearly Los Angeles Ritual
Why LA Garage Doors Fail on a Different Clock
The national average lifespan of a torsion spring is seven to nine years, with most manufacturers rating springs for 10,000 cycles. In Los Angeles, that number drifts. Coastal homes from Venice up through the Palisades regularly see spring failures at the five to six year mark. Inland, it’s not the spring that goes first. It’s the logic board in the opener, cooked by heat, or the rollers, gummed up with particulate that works its way into the ball bearings. We’ve also noticed something interesting about the residential patterns. Homes built during the 1980s and 1990s construction boom, especially in the Valley, often have extension spring systems that were already outdated when installed. Those fail in predictable, dangerous ways that torsion systems do not.
What this means for your maintenance approach: you cannot use a one-size-fits-all schedule. Your zip code, your door’s age, and the brand of your opener all change what “maintenance” means. A Clopay steel door in Playa del Rey has different failure modes than a Wayne Dalton door in Studio City. A Raynor torsion system in Redondo Beach faces salt-driven pitting that a Craftsman opener in Glendale never sees. The checklist below is built around that reality. Los Angeles is not one climate. It’s at least three micro-climates, and each one writes its own maintenance calendar.
The Monthly Inspection Sequence, Component by Component
Follow this sequence in order every month. It takes about fifteen minutes, and it catches the majority of failures before they become emergencies. The order matters because each component’s condition tells you what to check next. A fraying cable, for instance, should immediately trigger a closer look at the drum and the spring, not just the cable itself.
- Bottom brackets and fasteners. Look at the metal brackets where the cables attach at the bottom corners of the door. In Los Angeles, these are the first components to show rust, especially if you live within five miles of the coast. Surface rust is cosmetic. Pitting, flaking, or white zinc oxide buildup means the bracket is weakening. Mark it on your phone and check again in two weeks. If the pitting deepens, that’s a bracket replacement before a cable snaps.
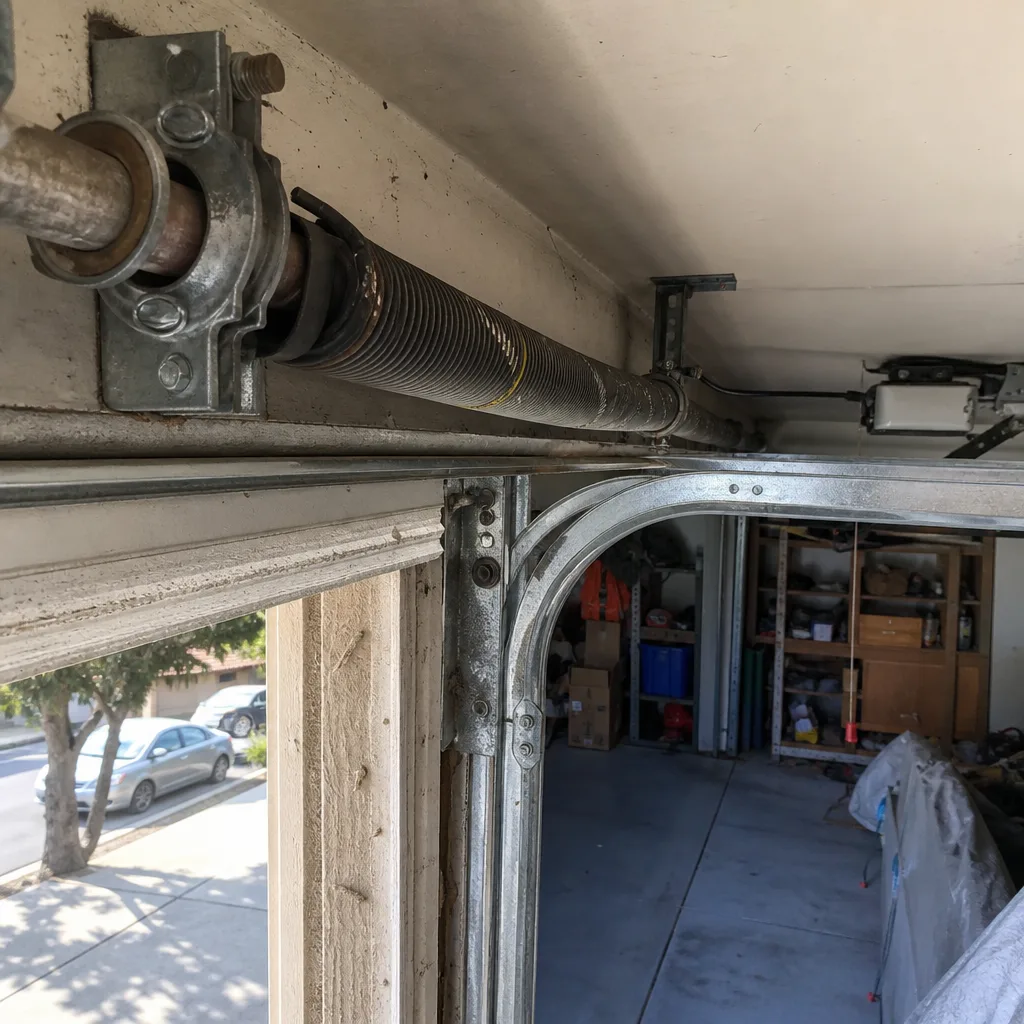
- Cables. Run your eyes along each cable from the bottom bracket to the drum above the door. You’re looking for two things: fraying, which looks like tiny steel bristles sticking out of the cable, and kinking, which means the cable has jumped its groove at some point. Both are precursors to a snap. Do not touch the cables while the door is under tension.
- Rollers. Inspect the rollers at the top of the door first, since those bear the most wear. Steel rollers with unsealed bearings accumulate LA particulate and seize. Nylon rollers are more forgiving. Listen for a grinding or rattling sound when the door moves. That’s metal-on-metal contact, and it means the roller is done.
- Track alignment. Stand inside the garage and look up the vertical track on each side. The track should be perfectly straight, with no daylight between the track and the wall mounting brackets. A small gap at the bottom, where the track curves into the horizontal run, usually means the door has taken a hit at some point or the slab has shifted, which is common in LA’s expansive soils.
- Weatherstripping. Check the rubber strip at the bottom of the door, called the bottom seal, plus the perimeter weatherstripping around the frame. Los Angeles sun hardens and cracks this rubber quickly, especially on south-facing and west-facing doors. A cracked seal lets in dust, which then coats your tracks and rollers, and it also lets rodents into a garage that should stay sealed.
- Safety reversal test. Place a 2×4 flat on the floor under the door’s path. Close the door. It should reverse within two seconds of contacting the wood. Do this twice every month. If it doesn’t reverse, stop using the door and check the sensors and the opener’s force settings. This is the single most important safety test on a residential garage door.
Coastal Salt Air vs. Inland Particulate: Two Different Maintenance Regimes
Los Angeles runs roughly east-west, and the maintenance needs of a garage in Mar Vista and a garage in Pasadena are almost opposites. Understanding which regime you fall into changes what you inspect and how often. Here’s a practical breakdown of how the two environments stress different components. If you live within five miles of the ocean, your primary enemy is salt-mediated corrosion. If you live east of the 405 corridor or in the Valley, your primary enemy is particulate buildup and heat cycling.
Coastal Corrosion Profile: Within Five Miles of the Pacific
- Bottom brackets and cable drums corrode fastest. Salt aerosol settles on everything and carries chloride ions that break down zinc coatings and then start on the steel. We see coastal Los Angeles homes with bottom brackets pitted to failure in six years, while the identical bracket inland lasts fifteen.
- Springs develop surface rust faster, but surface rust is not the killer. The real problem is micro-pitting at stress concentration points. A pitted spring develops cracks from the pits, not from the rust itself.
- Logic boards are less affected than inland. The marine layer keeps temperatures moderate, and salt air doesn’t heavily impact sealed circuit boards.
- What to do: Every eight weeks, spray all exposed metal with a corrosion inhibitor like CRC 6-56 Marine or Boeshield T-9, wiping off the excess. Do not use WD-40, which displaces water but leaves no protective film and attracts dust. Wipe down the cables with a clean, dry cloth, never with anything oily.
Inland Particulate Profile: The Valley, Pasadena, Glendale, and East of the 405
- Train tracks and rollers clog with silicate particulate. LA basin dust, combined with Santa Ana events, deposits fine grit on the tracks. This grit gets crushed into the roller bearings and the track surface, accelerating roller failure and creating those vertical wear streaks you see on older doors.
- Opener logic boards overheat. Garage temperatures in the Valley commonly exceed 120°F in summer, which slowly degrades solder joints and capacitors on older Chamberlain, LiftMaster, and Genie boards. Capacitor swelling is the first visible sign; if you see a bulging capacitor on the board, the opener is nearing end-of-life.
- Photo eye sensors accumulate dust faster. This is surprisingly common. A fine layer of dust on the sensor lens reduces the infrared signal strength, causing false reversals and intermittent no-close conditions.
- What to do: Blow out the tracks with compressed air every month during the dry season. Wipe the photo eye lenses with a dry microfiber cloth every two weeks during Santa Ana season. Keep the garage door closed as much as possible during high wind events. If your opener has a vented cover, vacuum it quarterly.
Opener-Specific Maintenance: Belt, Chain, and Jackshaft Are Not the Same Job
Most maintenance guides treat the opener as a black box. That’s a mistake, because the three most common residential opener types in Los Angeles all age differently, and the service each one needs is specific to its drive system. Onyx Garage Door Service has worked on belt-drive, chain-drive, and jackshaft openers across all eight major brands we service, and the maintenance picture is distinct for each. For Garage Door Repair Troubleshooting: Common Problems and How to Fix Them, see our dedicated guide. Here is exactly what each drive type demands, and what to leave alone.
Belt-Drive Openers (common on LiftMaster, Chamberlain, and Craftsman)
Belt-drive systems are the quietest and generally the most maintenance-free. The belt itself should never be lubricated, contrary to a lot of online advice. Lubricating a belt-drive belt accelerates wear and attracts dust. Your job is limited to checking belt tension once a year. When you press on the center of the belt, it should deflect about a quarter inch. If it’s visibly sagging or riding up on the sprocket teeth, it needs adjustment. A loose belt strips the sprocket, and that’s a repair call. Check the belt for cracks along its length, especially near the carriage connection, where LA heat concentrates and embrittles the rubber compound.
Chain-Drive Openers (common on Genie, Raynor, and older LiftMaster)
Chain-drive openers need periodic chain lubrication, but only with a white lithium spray or a dedicated chain lube applied to the chain, not to the rail. Wipe the chain down first with a rag to remove old oil and any dust it’s collected. Run the door fully open and closed twice after lubricating to work the lube into the pins. Inspect the chain for stiff links, which feel like a slight hitch as the door moves. A stiff link means that link is binding, and it’s the first stage of a chain snap. In Los Angeles’s dry inland air, chain lubrication every four to six months is adequate. In coastal air, add a light coat every three months to keep corrosion from forming on the links.
Jackshaft Openers (mounted on the wall next to the torsion tube)
Jackshaft openers, sold under several brand names including Chamberlain and LiftMaster wall-mount models, differ from the other two in one critical way: they do not use a rail at all. The motor couples directly to the torsion tube. That means your maintenance focus shifts to the coupler between the opener and the torsion tube, and to the opener’s cable tension sensor. Check the coupler set screws once a year. If they loosen, the door moves unevenly and the cables can go slack and jump the drum. On jackshaft openers, a slack cable is an emergency. The cable tension sensor should be tested monthly by lifting the door manually. If the sensor is out of position, the opener will allow cable slack to develop, which leads exactly to the kind of cable jump that costs a service call and can drop the door.
RF Interference in Dense LA Neighborhoods and How to Test for It
Los Angeles has one of the densest radio frequency environments in the country. Every home has a mesh Wi-Fi network, every car has a keyless entry system, and every garage opener uses a radio frequency between 300 and 433 MHz, depending on brand and age. Older openers, especially pre-2011 models using fixed 390 MHz frequencies, are vulnerable to interference from nearby military and aviation activity, as well as from other openers. The result: your opener works fine from inside the garage but fails from twenty feet away, or works only intermittently, or the remote works fine but the wall button won’t open the door.
To test whether RF interference is affecting your system, start with a simple distance test. Stand directly under the opener with the motor unplugged and press the remote. Then move to the end of your driveway and press again. If the range is dramatically reduced, or if the opener sometimes ignores the signal entirely, you may have interference. Try turning off your home’s Wi-Fi router for thirty seconds and testing again. If the opener suddenly works reliably with the router off, you have a Wi-Fi co-channel or adjacent-channel conflict, and changing your router’s channel or repositioning the antenna often resolves it. For openers with a learn button, re-pairing the remote clears corrupted codes that can also cause this behavior. If none of that works, your opener may need a frequency-hopping receiver upgrade, which is a technician-level job if the unit doesn’t support it natively.
Safety Reversal Sensor Testing and Recalibration
The photo eye sensors, called safety reversal sensors, sit near the bottom of each track, about six inches off the floor. They work by sending an invisible infrared beam between each other across the door opening. If anything breaks that beam while the door is closing, the opener should stop and reverse. Federal safety standards since 1993 require every residential opener to have this system. The two most common failure points for photo eyes in Los Angeles are dust on the lenses and misalignment of the sensor bodies, usually from a car bumper or a bicycle bumping into the bracket.
Testing the infrared beam is straightforward. With the door open, press the wall button to close it. As the door moves, wave your hand through the beam path, between the two sensors, about a foot off the ground. The door should stop and reverse within two seconds. If it doesn’t, clean both lenses with a dry cloth, then check the alignment by looking for the small LED indicator on each sensor. On most brands, a solid green or red light means the beam is aligned. A blinking light means misalignment, and a dark sensor means no power. Loosen the wing nut on the sensor mounting bracket, adjust the sensor until the light turns solid, and retighten. If the light won’t turn solid, one of the sensors may have failed internally or the wiring at the opener end has loosened. That’s a diagnosis call rather than a DIY fix. Onyx Garage Door Service handles sensor diagnostics, recalibration, and replacement for every opener brand we service, including Chamberlain, LiftMaster, and Genie systems.
What You Can Safely Do vs. What Belongs to a Technician
This section is the most important in the entire guide, and we’re going to be blunt about it. A garage door is the largest moving object in your home. The torsion spring counterbalances a door that weighs 150 to 400 pounds, and that spring is under several hundred pounds of torque even when the door is closed. The cables are under that same tension. If you release that tension incorrectly, the spring unwinds at high speed and the force concentrated in its parts can kill you. This is not hyperbole. The Consumer Product Safety Commission has tracked garage door related deaths and injuries for decades, and torsion spring accidents remain a leading cause of severe hand, arm, and facial trauma in home repair.
Safe for a Homeowner with Basic Tools
- Visual inspection of springs, cables, rollers, tracks, and brackets (do not touch components under tension)
- Lubricating hinges, rollers, and springs with a silicone-based lubricant (never on the belt of a belt-drive opener)
- Cleaning and light vacuuming of track interiors
- Cleaning photo eye sensor lenses and checking alignment
- Tightening visible fasteners on the track brackets and hinge plates where the bolts are accessible and not under spring tension
- Weatherstripping replacement on the bottom seal and perimeter
- Running safety reversal tests and adjusting the opener’s force settings via the control panel (but not the physical limit switches on older units)
Strictly Technician Work, No Exceptions
- Any adjustment to torsion spring tension, including adding or removing winds
- Replacement of torsion springs or extension springs
- Cable replacement or rerouting of a cable that has jumped its drum
- Track realignment when the track is bent or the door is out of level
- Opener logic board replacement or internal force limit adjustment on older mechanical models
- Any work on a door that will not stay in the open position or that shows signs of a broken spring
If you’re spending time on garage door work, let us make two points clearly. First, Onyx Garage Door Service home is built around the idea that a knowledgeable technician should be able to work on whatever door and opener you already own. Second, precision matters when your garage door is the largest moving part of your home. When one of those strictly-technician items shows up on your monthly inspection, the right move is a phone call, not a YouTube tutorial with a socket wrench.
Seasonal Deep Maintenance: The Twice-Yearly Los Angeles Ritual
Twice a year, in early spring and again in late fall, do a full two-hour maintenance pass. This is separate from the monthly checklist. The monthly checklist is a tripwire. The seasonal pass is the actual maintenance work, and it’s a good time to tackle the cosmetic and functional cleaning that keeps parts alive longer. Use this as your template and follow the order. The sequence works from the outside of the door inward, ending with the opener.
- Wash the door exterior with a mild car wash soap and a soft brush. For Amarr and Clopay steel doors, steer clear of abrasive cleaners that strip the clear coat. For Wayne Dalton wood composite doors, avoid pressure washing, which forces water into the laminate. Rinse with low pressure only.
- Lubricate the torsion spring with a silicone spray along the full length of the coil. The spring coils flex with every cycle, and lubricant prevents coil-on-coil friction, which is a major cause of premature metal fatigue. Use a no-drip silicone, never grease, which cakes with LA dust.
- Clean the tracks thoroughly with a non-residue cleaner. Do not use lubricant inside the tracks. The rollers ride on the track surface, and a wet track surface attracts dust and causes premature roller wear.
- Check every hinge and plate bolt with a socket set. Bolts slowly back out over thousands of cycles, especially on doors that see four or more daily cycles. Snug down anything loose, but never use threadlocker on garage door fasteners, since they need to move slightly to allow thermal expansion.
- Inspect the opener’s electrical connections at the ceiling receptacle and the unit’s terminal block. In coastal Los Angeles, salt air can corrode the connection at the plug. A dark or tarnished prong means it needs cleaning or replacement.
- Run the door through five complete open and close cycles while watching and listening. Watch for hesitation at the same point in each cycle, which says the track, roller, or car is binding. Listen for any squeal that changes pitch. A steady high-pitched squeal is almost always a dry bearing. An intermittent squeal is usually a hinge. Mark any anomaly and address it before the next seasonal pass.
If during either seasonal pass you spot a spring with a visible gap in a coil, or a cable with more than two broken strands, stop the maintenance work and call us for an assessment. Garage Door Repair in South Gate is one of our core service pages, and it explains what a spring inspection and replacement looks like in practice. We serve the broader Los Angeles area, and we’ll give you an honest read on whether a component replacement is needed now or can wait six months.
Common Mistakes to Avoid
- Lubricating the opener belt on a belt-drive system. This is the most common error we see from well-intentioned Los Angeles homeowners following generic online checklists. Belt-drive systems are designed to run dry. Lubricating the belt causes it to slip on the sprocket and rapidly accelerates belt degradation.
- Using WD-40 on rollers and hinges. WD-40 is a water displacer, not a lubricant. It dries to a thin film that attracts particulate and leaves metal unprotected. Use a silicone spray or white lithium grease, and only on the pivot points, not the wheel surface.
- Repainting over a rusted bottom bracket. Paint covers the rust but does not stop the underlying corrosion. In a coastal Los Angeles environment, rust continues underneath the paint, and the bracket fails invisibly until a cable releases.
- Ignoring the safety reversal failure and assuming the door is still “fine.” A door that reverses properly is protecting you and your family. A door that doesn’t reverse is a serious injury waiting to happen. We often see doors operating for years with non-functional sensors, which is an unacceptable risk.
- Adjusting the spring tension by hand. Do not ever attempt to release spring tension with a pipe wrench or any improvised tool. Torsion spring tension adjustment is a job for a certified technician with the correct winding bars and training. This is one of the most dangerous home repair tasks that exists.
- Using a home vacuum on the opener’s logic board. Static discharge from a vacuum can damage sensitive electronics. Use a soft brush or a can of compressed air only, and never touch the board directly with your fingers.
- Forgetting to test the door after any maintenance work. After you lubricate, clean, or adjust anything, always run a full safety reversal test. A small change in friction can change the opener’s force-sensing behavior, and the door may no longer reverse properly.
See the difference
 Before
 After
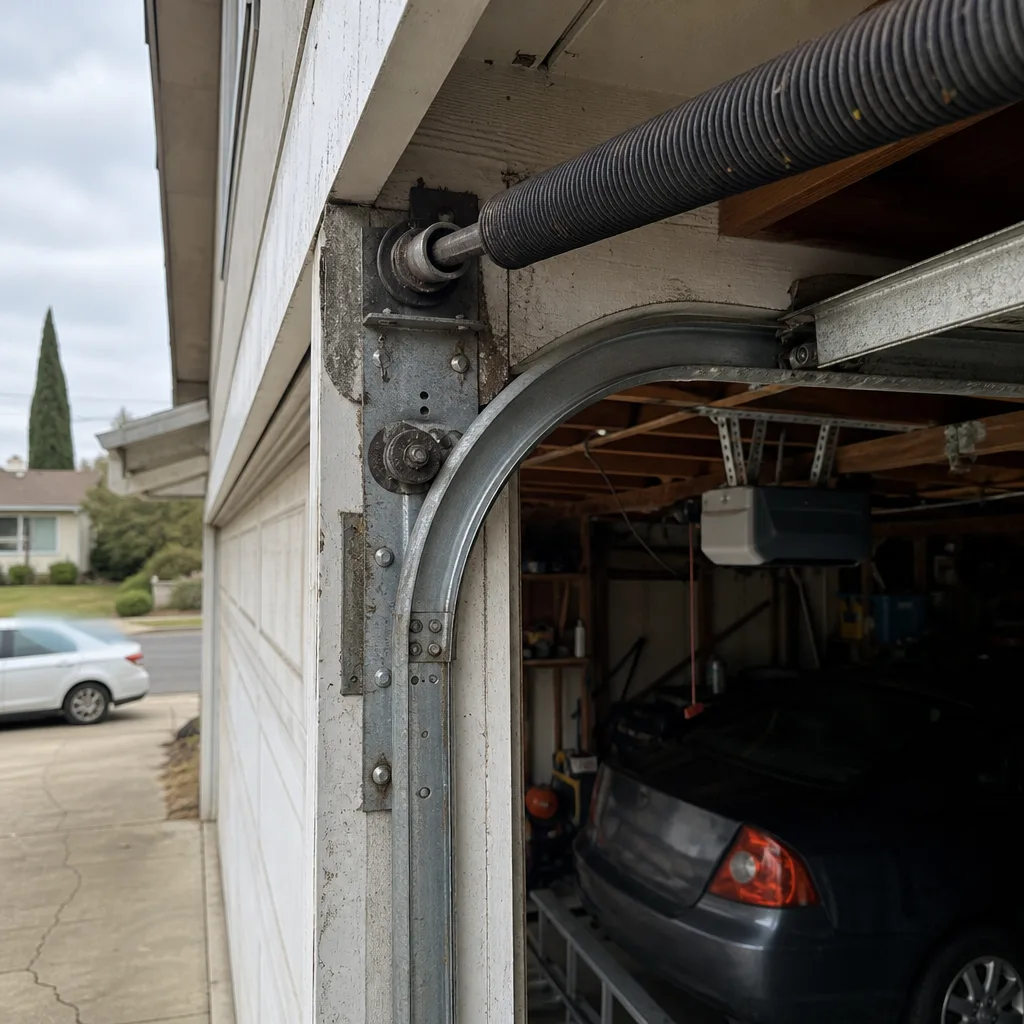 Before
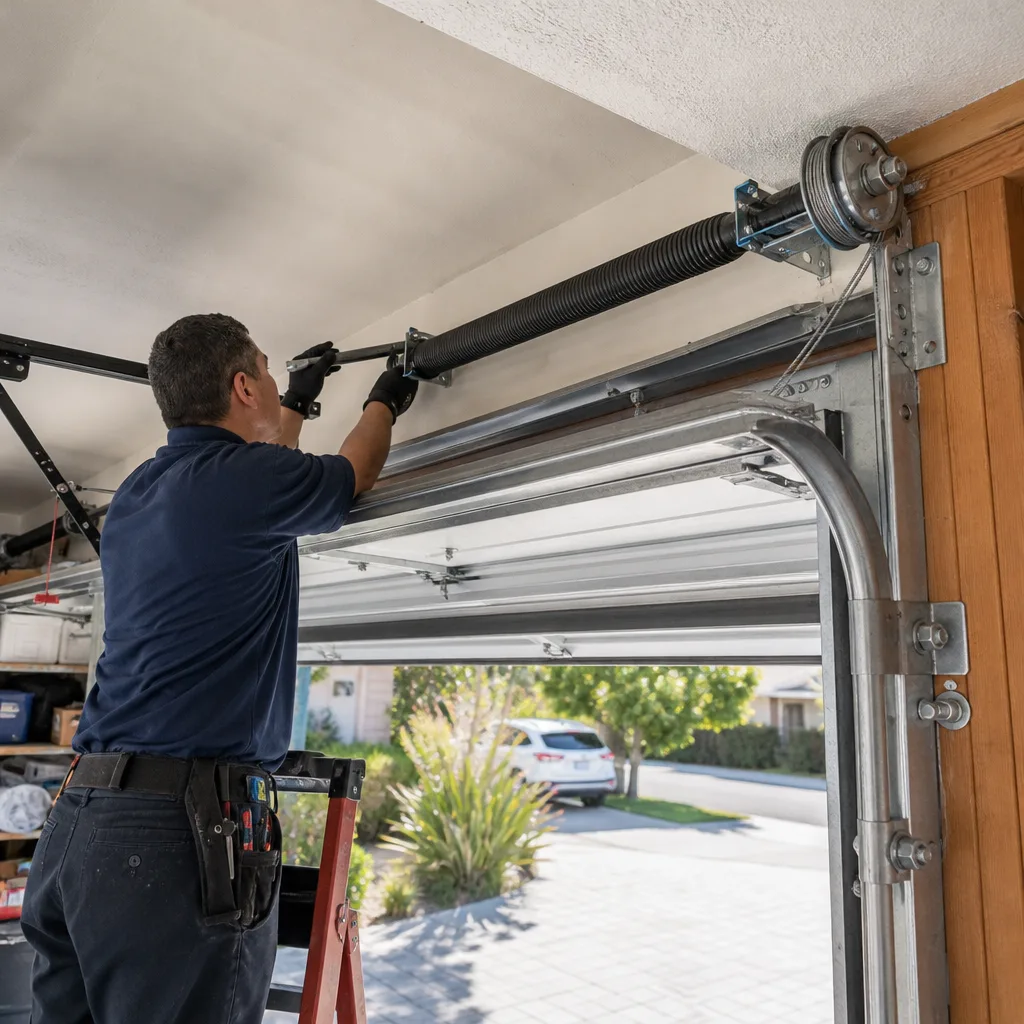 After
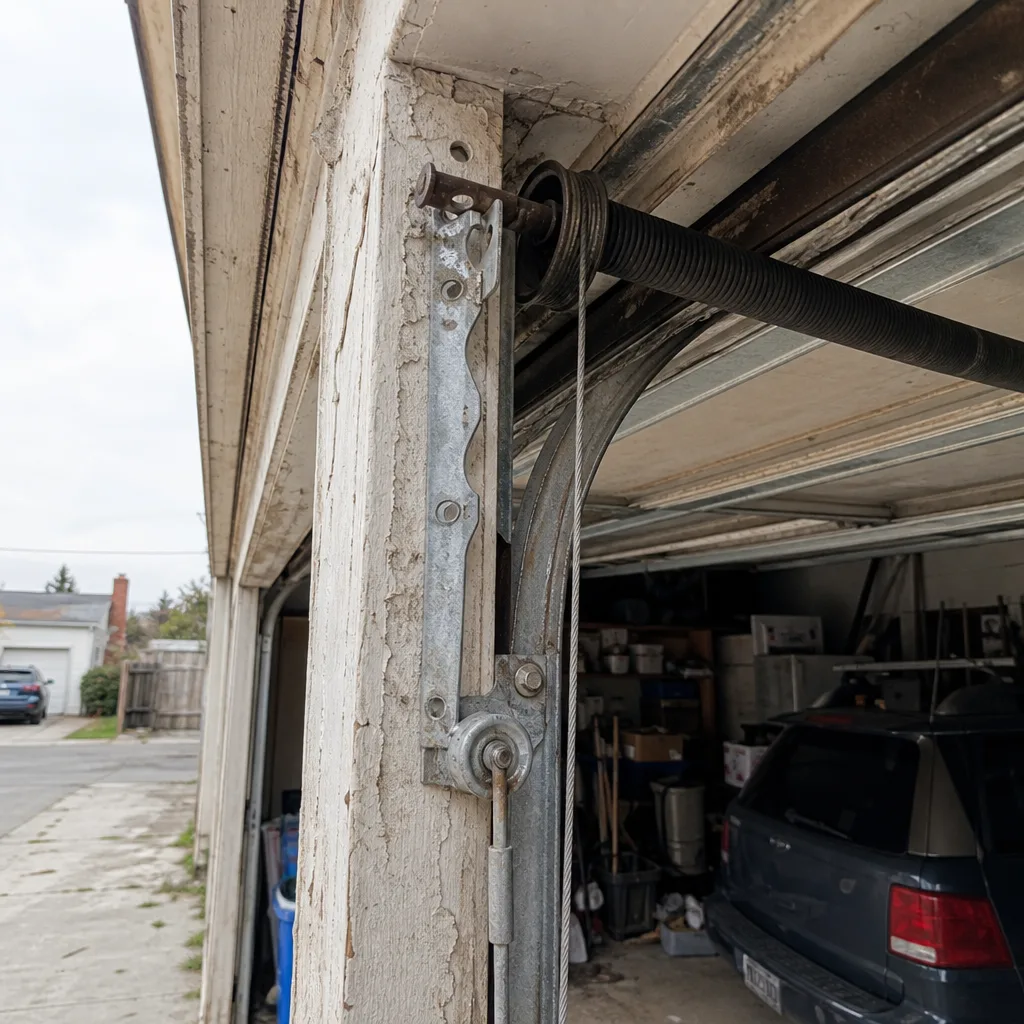 Before
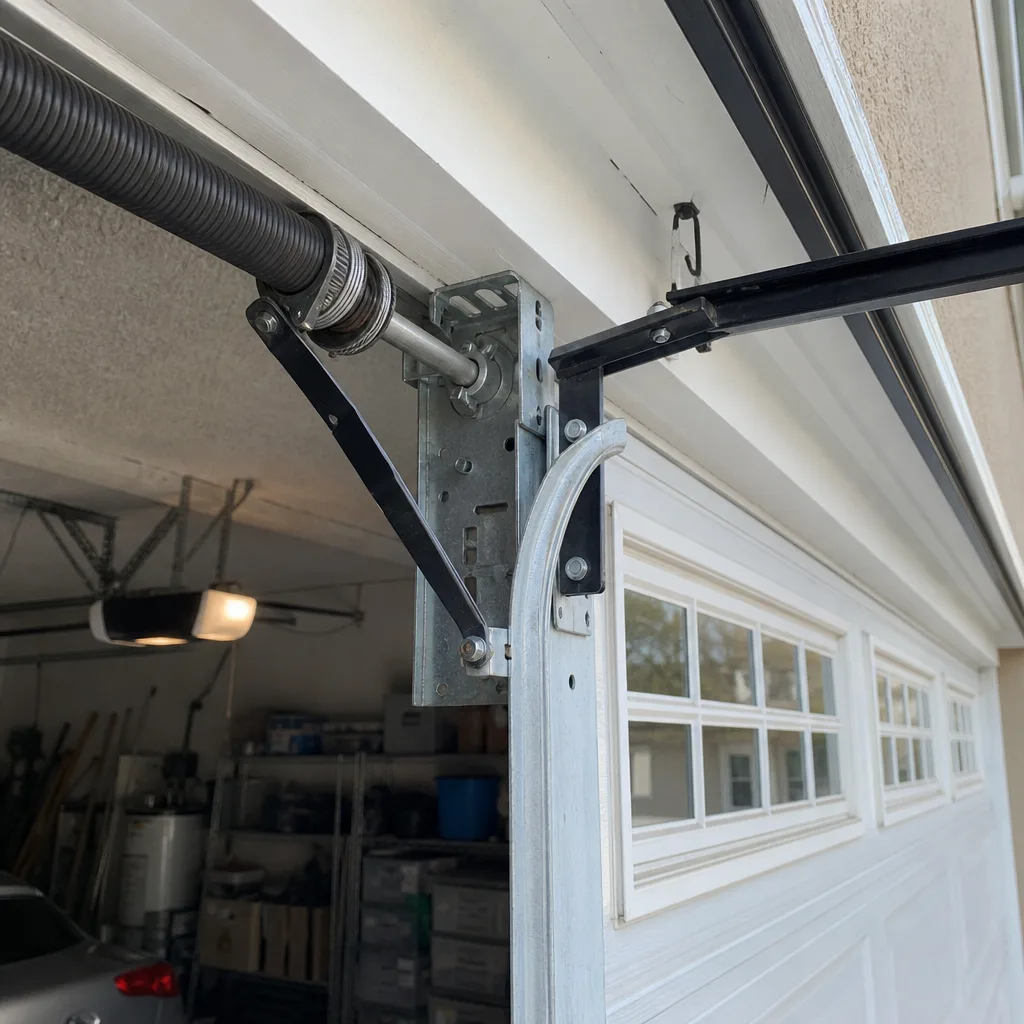 After
When to Call a Professional
Certain conditions demand a technician’s eye and equipment, no exceptions. If you see a torsion spring with a visible break or a gap between coils, the door must be taken out of service immediately and the spring replaced. If a cable has snapped or jumped off the drum, the door is no longer balanced and the remaining cable is under asymmetric load. If the door falls faster than a controlled descent when you release it from the open position, a spring has failed. If the opener’s motor hums but the door doesn’t move, the drive gear or the logic board has likely failed, and continued attempts to run it risk damaging the motor. If the door reverses erratically or only closes when you hold the wall button down, the sensor system or the force settings need professional diagnosis. Onyx Garage Door Service offers free estimates in Los Angeles – call (877) 588-8251. For more guides & resources, explore our blog. Before any repair work starts, we’ll quote the price and agree on it with you, and that price does not change once we’ve opened the door and seen the parts.
Frequently Asked Questions
Lubricate the rollers, hinges, and torsion spring every four to six months in Los Angeles, more often if you live near the coast or in a high-particulate area like the Valley during Santa Ana season. Use a silicone-based spray or white lithium grease on pivot points only, never on the opener belt, and never on the track surface itself.
The most common failure we see in Los Angeles is a snapped torsion spring, followed closely by corroded bottom brackets at homes within five miles of the coast. In inland areas, the most common failure is opener logic board degradation from heat, especially in Valley garages that exceed 120°F in summer.
No. Torsion spring replacement is genuinely dangerous work that requires specialized winding bars, proper technique, and an understanding of the torque load on the spring. An amateur spring replacement is a leading cause of severe hand and face injuries in home repair. Call a technician for this job, every time.
Intermittent opener behavior in Los Angeles is often caused by RF interference from nearby Wi-Fi networks, military or aviation signals, or neighboring garage door openers using the same frequency band. Testing your opener with your home router off is a quick diagnostic. Re-pairing your remote and checking sensor alignment are the first fixes to try. If the problem persists, the opener may need a frequency-hopping receiver.
Garage door spring replacement in Los Angeles typically falls between $180 and $340 for a single torsion spring, depending on the spring’s cycle rating and the door’s size and weight. The price is quoted and agreed with you before any work starts. Call (877) 588-8251 for an exact quote on your specific door.
Stop using the door immediately. Run the safety reversal test with a 2×4 on the ground. If it doesn’t reverse, clean the photo eye lenses, check sensor alignment, and test again. If it still fails, the force settings or the sensor system need professional attention. A door that doesn’t reverse is a serious safety hazard. Call us at (877) 588-8251 and we’ll come out to diagnose it.
The Bottom Line
Garage door maintenance in Los Angeles is not a single checklist you copy from a national website. It’s a system-aware discipline that starts with knowing your opener brand and drive type, your spring type, and whether your home sits in a coastal corrosion zone or an inland particulate zone. The monthly inspection sequence catches most failures early. The seasonal deep pass extends component life meaningfully. And the honest division between homeowner-safe tasks and strictly-technician work keeps you from becoming a statistic. From a broken spring to a full new installation, one company, one call. We work on your brand, not just our preferred one, whether that’s Amarr, Clopay, Genie, LiftMaster, or any of the others. If your door needs professional attention in Los Angeles, Garage Door Opener Repair in South Gate and Garage Door Installation in South Gate are two of our service pages with more details on what we handle, and you can always reach us at (877) 588-8251.
Written by the team at Onyx Garage Door Service, serving Los Angeles since 2014.