
Last updated October 31, 2026
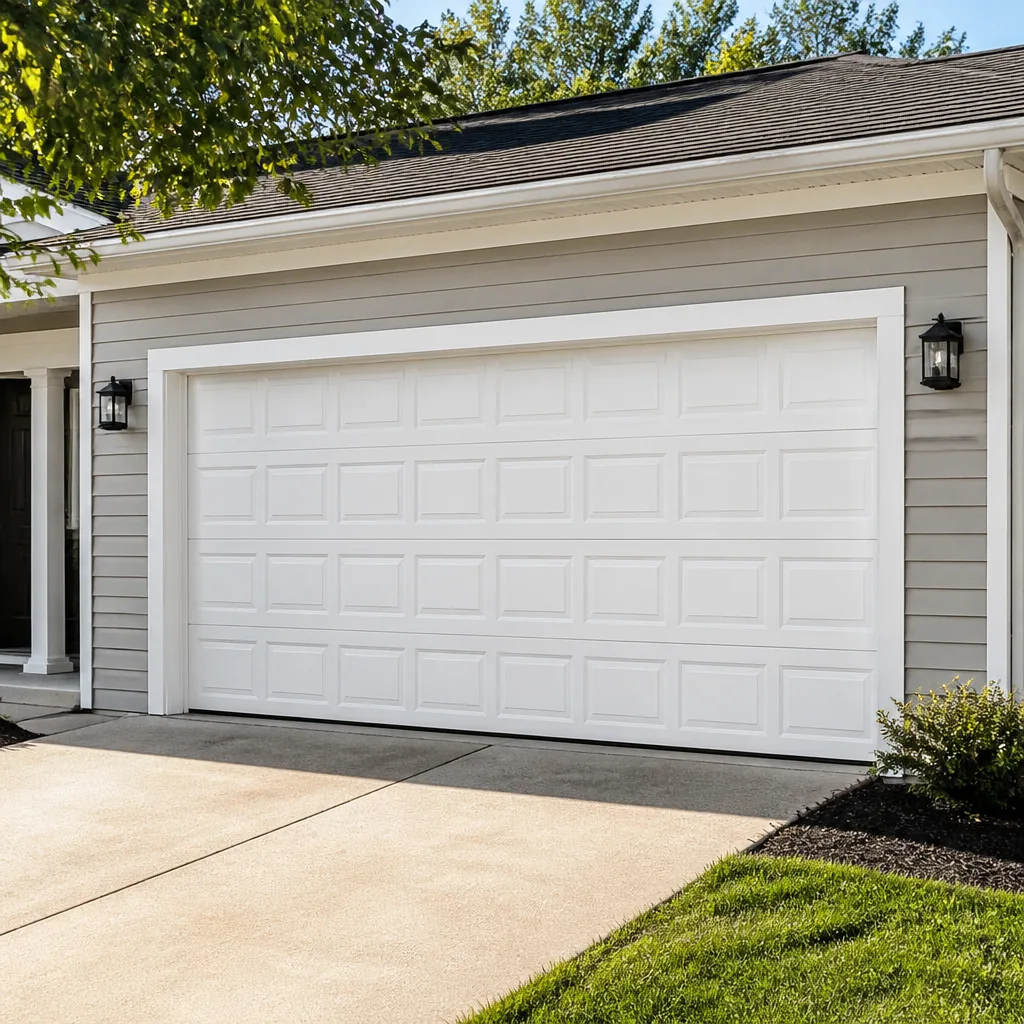 Raised-panel steel
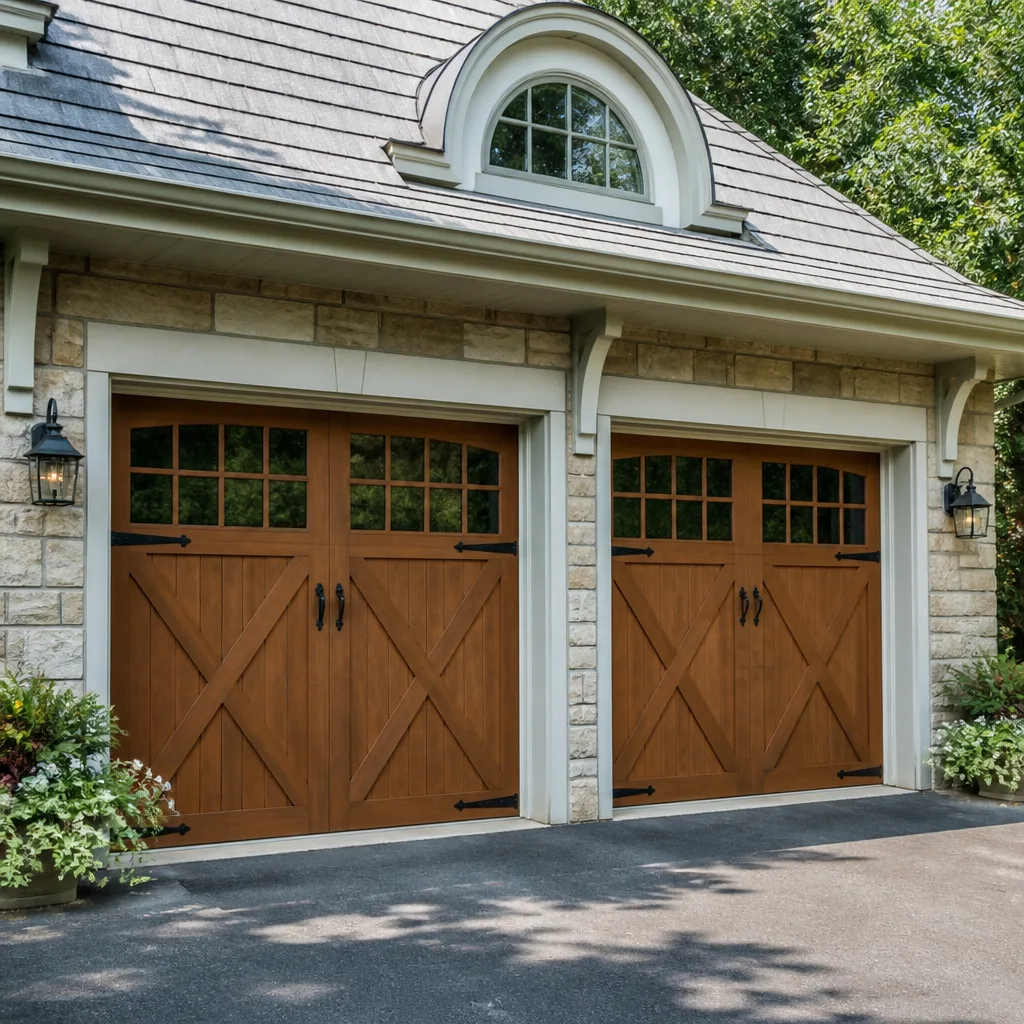 Carriage house
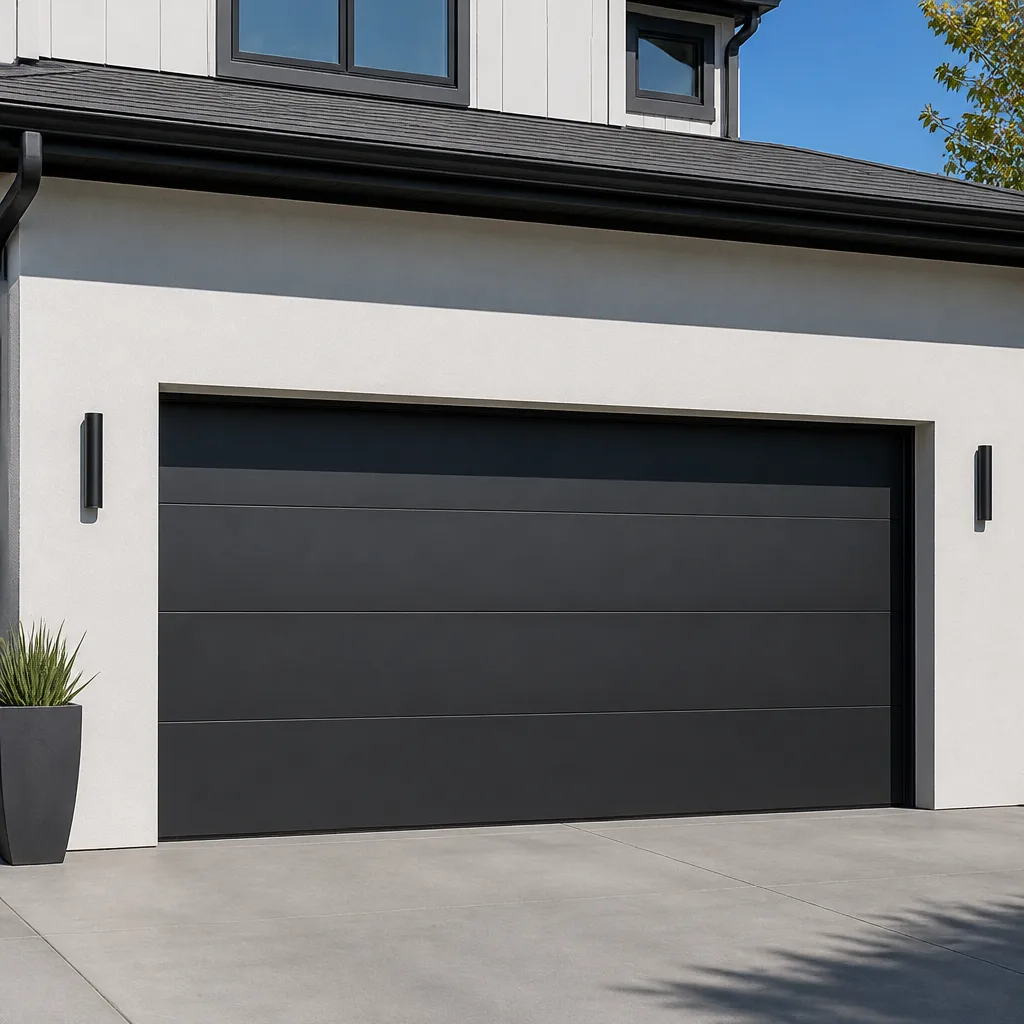 Modern flush
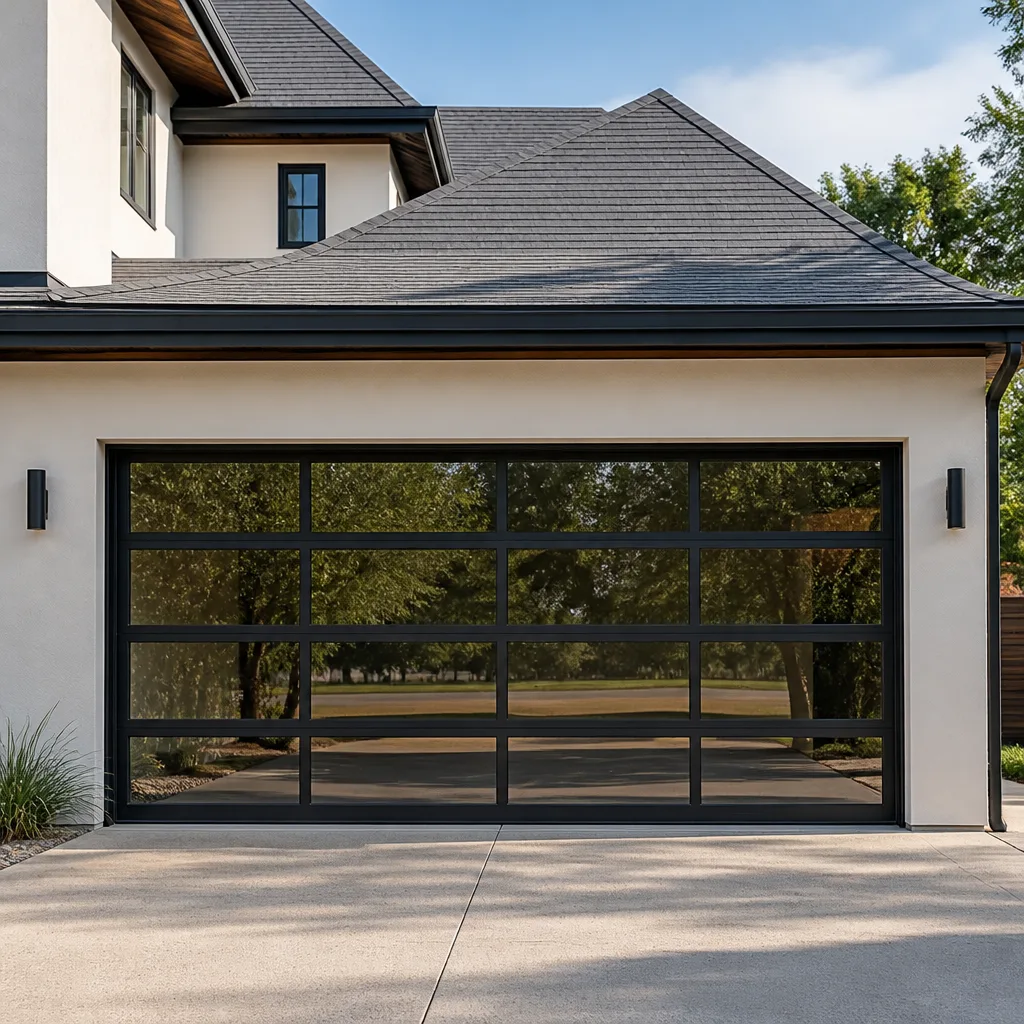 Full-view glass
 LiftMaster openers
 Chamberlain openers
Full 25-point door and opener safety check with every visit - springs, cables, rollers, tracks, and your LiftMaster or Chamberlain opener included
You get a price before we start. It does not change when the truck arrives.
Get your free estimateGarage Door Repair Troubleshooting: Common Problems and How to Fix Them
A garage door that “won’t open” could mean eight completely different broken parts. Calling a technician without knowing which one is how Los Angeles homeowners get upsold on repairs they don’t need. This guide teaches you component-level diagnosis. You’ll learn to read the failure signal itself: the specific grind, gap, bounce, or blinking error code that pinpoints the broken part before anyone picks up a phone.
Quick Answer
Garage door troubleshooting starts with reading the failure signal: identify whether the problem is electrical (opener runs but door doesn’t move, error codes flashing), mechanical (door moves but binds, sags, or binds mid-travel), or structural (visible damage to panels, tracks, or hardware). Match the specific symptom, sound, or code to the component. Most sensor alignment issues and remote programming problems are safe homeowner fixes; spring, cable, and track repairs require professional tools and safety training. For a deeper look at what to watch for, see our Garage Door Warning Signs: A Los Angeles Homeowner’s Reference Guide.
Styles & brands we work with
Table of Contents
- The Sound Diagnostic Matrix: What Your Garage Door Is Telling You
- How to Read Opener Error Codes by Brand
- The Three Sensor Failure Modes That Look Identical
- How to Safely Test a Spring Without Releasing Tension
- The Visual Inspection: Worn vs. Failed Components
- Step-by-Step Fixes You Can Do Yourself
- Los Angeles Garage Door Failure Patterns
- Common Mistakes to Avoid
- When to Call a Professional
- Frequently Asked Questions
The Sound Diagnostic Matrix: What Your Garage Door Is Telling You
Every failing component produces a distinct sound signature. Before touching anything, run the door once and listen. In our experience across Los Angeles service calls, the sound tells us the problem about 70% of the time before we even look at the hardware.
- Loud snap or bang, like a gunshot: Torsion spring failure. The spring sits above the door on a metal shaft. When it breaks, the release of tension creates a sharp crack. The door will suddenly feel extremely heavy and may not lift more than a few inches. This is the most common catastrophic failure on Los Angeles homes built before 2010.
- Grinding or scraping, constant while moving: Roller wear or track misalignment. Metal-on-metal grinding means the rollers have lost their ball bearings or the track has shifted enough that the roller is dragging against the rail. Left unfixed, this turns into a bent track, which triples the repair cost.
- Squealing or high-pitched whine only when the opener runs: Opener gear wear. On LiftMaster and Chamberlain screw-drive and chain-drive models, the plastic drive gear strips over time. The motor spins but the gear teeth slip, producing a brief squeal at start. This is an opener repair, not a door repair.
- Popping or creaking during movement, like a ship in rough water: Aging extension springs, especially on older Wayne Dalton and Craftsman door systems. The springs stretch and coil unevenly. It’s not an emergency, but it signals spring fatigue and predictable failure within months.
- Thumping or banging at the end of travel: The door is hitting the stops too hard, usually because the up-limit or down-limit setting on the opener is off. Common after a power outage resets the board on Genie and older Craftsman openers.
- Rattling or metal-shaking sound with the door closed: Loose hardware: hinges, track bolts, or the opener mounting bracket. Los Angeles’s dry climate means wood framing contracts seasonally, and bolts that were tight at installation back out over time.
A precise sound description on the phone helps a technician arrive with the right parts. “It grinds” means rollers. “It snapped and now it’s dead” means spring. “It squeals but barely moves” means opener gear. That’s the difference between a one-visit repair and a two-visit parts chase, which most Los Angeles homeowners would rather avoid.
How to Read Opener Error Codes by Brand
Modern garage door openers communicate failure through blinking LED lights or digital readouts. The same symptom, a door that reverses after hitting the floor, produces different codes depending on who made the opener. Reading the code before calling a technician saves a diagnosis fee and can identify the exact part needed.
LiftMaster and Chamberlain
These two brands share the same parent company and use the same logic board language. The learn button on the back of the motor unit doubles as a diagnostic light. Count the flashes:
- 1 flash: Safety sensor wiring open or sensor misaligned. The door will not close at all.
- 2 flashes: Sensor wire shorted or reversed polarity. Looks identical to 1 flash from the outside, but it’s a wiring fault, not alignment.
- 4 flashes: Sensor obstruction or misalignment. The sending eye and receiving eye are not seeing each other. This often happens when a broom or box gets bumped against the sensor bracket.
- 5 flashes: Motor overheated. Let it cool for 15 minutes. Common in Los Angeles summers when garages hit 110 degrees.
- 6 flashes: Logic board failure or internal circuit fault. This is a board replacement, not a field repair.
Genie
Genie openers use the round red or green status light. Older models blink a sequence; newer models show a numeric code on the wall console.
- One blink, pause, repeat: Sensor obstruction. Same as LiftMaster’s 4-flash code.
- Two blinks, pause, repeat: Force limit exceeded. The door hit something and reversed. This can be a real obstruction or a misadjusted force dial.
- Three blinks: RPM sensor or encoder error on screw-drive models. The motor runs, but the opener does not know the door’s position.
- Four blinks: Thermal protection triggered. Same cause as LiftMaster’s 5-flash code.
- Five blinks: Limit switch failure. The door travels too far in one direction and reverses.
Craftsman
Most Craftsman openers made after 2005 are rebadged Chamberlain or LiftMaster units, so the flash codes match: 1 flash sensor wire, 2 flashes short, 4 flashes obstruction, 5 flashes overheat. Older Craftsman models from the 1990s use a single diagnostic LED that blinks in two-digit sequences. If you have a pre-2000 Craftsman and see a blinking pattern that is not a simple 1-to-6 count, check the model number on the motor housing before calling. A house built in Los Angeles’s older neighborhoods, from Silver Lake to West Adams, often still has one of these units running faithfully.
Raynor
Raynor openers are less common in Los Angeles, but they appear on higher-end custom homes. Raynor uses a digital display on the wall console rather than flash codes. Error 1-1 means sensor misalignment. Error 1-2 means sensor wiring fault. Error 2-1 means motor overload. The display system is actually easier to read than flash counting, if you know the model has it.
The point here is not to memorize every code. It’s to know that the code exists and that telling a technician “it blinks four times” is immediately actionable. Onyx Garage Door Service technicians carry code dictionaries for LiftMaster, Chamberlain, Genie, and Craftsman systems in every truck, which means the diagnosis often happens in the first minute of the call.
The Three Sensor Failure Modes That Look Identical
Safety sensors are the most frequently misdiagnosed component in garage door repair. The symptom is always the same: the door starts to close, stops, and reverses. The opener lights blink. From a homeowner’s perspective, every sensor problem looks identical. But there are three completely different failures underneath, and each requires a different fix.
Failure Mode 1: Misalignment
The two sensor eyes, mounted about six inches off the floor on each track, must point directly at each other. One is a sender, one is a receiver. A bump from a trash can, a car tire, or a child’s bike knocks the bracket just a few degrees off. The invisible infrared beam misses the receiver, and the opener refuses to close.
Fix: Loosen the wing nut on the bracket, aim the sensor at the opposite eye, and tighten. Watch the small LED on each sensor. Most LiftMaster, Chamberlain, and Genie sensors show a solid green or red light when aligned. If the light flickers or stays off, keep adjusting.
Failure Mode 2: Wiring Fault
The sensors connect to the opener motor with low-voltage wire, usually stapled along the wall and ceiling. Over time, a staple cuts through the insulation, or a mouse chews the wire in the garage. The symptom is identical to misalignment, but no amount of aiming fixes it. On LiftMaster and Chamberlain openers, this is the difference between a 1-flash and 2-flash code: one means “wire open,” the other means “wire shorted.”
Fix: Check the sensor wire for visible damage, pinch points, and staple penetration. If you see any bare copper, replace the wire run. This is a $15 fix in parts, but a $120 service call if you don’t catch it.
Failure Mode 3: Sunlight Interference
This one is Los Angeles-specific. Direct sunlight hitting the receiving sensor eye can overwhelm the infrared signal. It happens most often in west-facing garages in the late afternoon, or east-facing garages in the early morning. The door works fine at night and fails during the day. Homeowners call it “intermittent,” which is the hardest diagnosis for any technician.
Fix: Install a sun shield, which is a small metal or plastic tube that extends past the sensor eye, blocking direct sunlight. Genie sells them as an accessory. A temporary cardboard tube taped over the sensor confirms the diagnosis. If the door closes reliably with the tube in place, you’ve found it. In neighborhoods like Sherman Oaks and Encino, where afternoon sun is intense, we recommend sun shields as a permanent install on any west-facing garage.
Garage Door Repair in South Gate often involves sensor issues because many homes there have garages that catch direct afternoon light.
How to Safely Test a Spring Without Releasing Tension
Most DIY guides skip this section because they are afraid of liability. We’ll explain it safely, because knowing whether your spring is broken determines whether you call a technician at all. You do not need to touch the spring to test it.
Step 1: Disconnect the Opener
Pull the red emergency release cord hanging from the opener rail. This disengages the opener carriage from the door. The door is now on its own.
Step 2: Lift the Door Manually
Grab the door handle or bottom edge. Lift. A door with an intact spring system, whether torsion or extension springs, should lift with moderate effort and stay in place around waist height. It should not fly up or feel like dead weight.
Step 3: Read the Result
- Door feels extremely heavy and will not stay up: Spring failure. The spring is doing none of the lifting. This is the most dangerous condition: the full weight of the door, often 150 to 300 pounds depending on material, is now unsupported. Do not attempt to lift the door further or prop it open with anything that is not rated for the weight.
- Door lifts easily but slams to the floor when released: Spring too weak or wrong spring for the door weight. This happens on Los Angeles homes where a previous owner replaced a spring with a cheaper, incorrect spec. It also happens when extension springs stretch out on older Wayne Dalton or Craftsman doors.
- Door lifts easily and stays at any position: Spring is doing its job. The problem is elsewhere, likely the opener, rollers, or track.
Step 4: Reconnect the Opener
Pull the red cord again and run the opener until the carriage re-engages with the door. You’ll hear a click when it connects.
Never attempt to adjust, remove, or replace a torsion spring yourself. The winding cone holds a significant amount of stored energy, and an uncontrolled release can cause serious injury. Onyx Garage Door Service handles spring replacement as a standard job for Los Angeles homeowners, and we carry springs for every major brand, including Raynor and Wayne Dalton systems that some companies won’t touch because the parts are harder to source.
The Visual Inspection: Worn vs. Failed Components
A 10-minute visual check gives you language to describe the problem precisely. The goal is to distinguish a component that is worn, meaning it works but is degrading, from one that has failed, meaning it no longer performs its function. Technicians hear “it’s worn out” constantly, and it doesn’t help. “The roller has flat spots and the track is scored” tells us exactly what to bring.
What to Check
- Rollers: Look at the wheels that ride inside the vertical and horizontal tracks. Steel rollers with ball bearings last 10 to 15 years in Los Angeles’s dry climate. Nylon rollers last 12 to 20. If a roller has a flat spot, wobbles on its stem, or has visible rust, it’s worn. If it has seized and is dragging, it’s failed.
- Hinges: The metal brackets connecting door sections. Look for cracks at the pivot point, loose bolts, or visible elongation of the bolt holes. Worn hinges make the door flex when moving. Failed hinges mean a section can separate from the door.
- Cables: The steel cables on each side of the door, running from the bottom bracket up to the cable drum on the spring shaft. Look for fraying, individual broken strands, or rust. A frayed cable is a pending failure. A snapped cable means the door hangs unevenly and is unsafe to operate.
- Track alignment: Stand back and sight down the vertical track. It should be perfectly straight, with a consistent gap between the track and the door edge. A bent section, a loose mounting bolt, or a gap that widens at one end means track misalignment. This is a repair, not an adjustment.
- Weather seal: The rubber strip along the bottom of the door. Los Angeles gets little rain, but the seal also keeps dust, leaves, and insects out. A cracked or compressed seal is worn. Missing sections mean it’s failed.
- Opener rail and chain/belt: Look at the metal rail extending from the motor to the door. A sagging chain means it needs tensioning. A frayed belt means replacement. Oil dripping from the rail on a screw-drive model means the grease has degraded.
The inspection takes ten minutes and costs nothing. If you find two or more worn components, a scheduled repair visit makes more sense than waiting for failure. In our experience in Los Angeles, multi-component wear is most common on homes where the garage door is used as the front door, which describes a huge portion of the city, from Mid-City to Van Nuys.
Step-by-Step Fixes You Can Do Yourself
These are the four repairs a homeowner can safely complete without specialized tools or training. If a repair is not on this list, assume it requires a professional.
Fix 1: Remote Control Not Working
- Replace the battery first. Nine times out of ten, it’s the battery.
- Check that the opener’s antenna, a thin wire hanging from the motor unit, is not damaged or tucked behind a metal bracket.
- Reprogram the remote. On LiftMaster and Chamberlain, press and release the learn button on the motor, then press and hold the remote button until the opener light blinks. On Genie, press and hold the learn button until the LED flashes, then press the remote button twice.
- If the wall button works but the remote doesn’t, the remote is bad or the opener’s receiver board is failing. A new remote is $20 to $40.
Fix 2: Door Reverses Before Hitting the Floor
- Check for a visible obstruction in the door’s path. Remove anything in the photo eye line.
- Clean both sensor lenses with a dry cloth. Los Angeles dust coats sensor lenses quickly.
- Verify the sensor LEDs are solid, not blinking. If one is off, check the wiring at that sensor.
- Adjust the close-force setting on the opener. Most openers have a small dial or button sequence for force adjustment. Increase it slightly if the door is reversing due to sensitivity.
Fix 3: Door Reopens After Hitting the Floor
- Lower the travel limit on the opener. The door is traveling too far down and compressing against the floor, which triggers the safety reverse.
- On LiftMaster and Chamberlain, the limit adjustment is a dial or button on the side or back of the motor unit, usually labeled “down limit.”
- On Genie, the limits are set through the wall console menu. Look for “limit set” or “travel.”
- Run the door and test. It should stop when the seal just touches the floor, not compress.
Fix 4: Loud Grinding While Opening
- Inspect the rollers as described above. If any roller has a flat spot or seized bearing, replace it.
- Lubricate moving parts: rollers, hinges, and the opener rail. Use a silicone or lithium-based garage door lubricant, not WD-40. WD-40 is a solvent that strips existing grease.
- For screw-drive openers, apply a coating of lithium grease to the rail. Do not use spray lube on a screw-drive rail; it needs a grease, not an oil.
- Run the door. If the grinding persists, the track is likely misaligned or the opener gear is worn, both of which are professional repairs.
Remember, any repair involving the spring, cables, or track brackets is not a DIY job. The stored energy in these components is dangerous. Garage Door Opener Repair in South Gate covers opener issues specifically, while Garage Door Installation in South Gate is the right call for a full replacement.
Los Angeles Garage Door Failure Patterns
Garage door components fail differently depending on climate, usage, and housing stock. Los Angeles is not one garage door market; it’s several, and the failure patterns vary by geography and era.
Coastal neighborhoods, from Santa Monica to Long Beach, deal with salt air corrosion. Steel rollers, hinges, and springs rust faster within five miles of the ocean. Nylon rollers and galvanized hardware last longer, but most original builds are steel. We recommend replacing steel rollers with nylon on any coastal Los Angeles garage door, regardless of brand.
Valley neighborhoods, including North Hollywood, Reseda, and Woodland Hills, see extreme temperature swings inside the garage. Summer daytime temperatures hit 110 degrees, then drop to 60 at night. That thermal cycling accelerates spring fatigue and causes opener circuit boards to fail more often. Genie and Chamberlain units mounted on uninsulated garage ceilings are the usual victims.
Older Los Angeles neighborhoods, from Highland Park to Leimert Park, have a high concentration of pre-2000 homes with original doors. Many of these are Wayne Dalton or old Craftsman systems. The doors themselves, if steel, are often in decent shape. The hardware is not. Spring failure, cable fray, and roller seizure are the dominant calls.
Newer construction, especially the condo and townhome developments downtown and in West LA, uses LiftMaster and Chamberlain openers paired with Clopay or Amarr doors. These systems fail less often, but when they do, the problem is almost always electronic: a logic board, a wall console, or a safety sensor. Mechanical failure on a five-year-old door is rare.
Understanding your home’s failure pattern helps you predict what will break next. If you live in a 1990s Valley home with original springs, you’re on borrowed time. If you’re in a 2018 West LA condo with a LiftMaster, your next call is probably an opener issue, not a door issue.
Common Mistakes to Avoid
- Lubricating a failing part instead of replacing it. Grease masks a worn roller or hinge for a week. The component is still failing. Lubrication is maintenance; it doesn’t fix damage.
- Ignoring a frayed cable. A cable with visible broken strands is a countdown. When it snaps, the door drops and can injure someone or damage the car underneath. Replace at first sign of fray.
- Adjusting the opener force to compensate for a binding door. If the door binds and you increase the force, the opener pushes through the resistance. That bends tracks, strips gears, and turns a $150 adjustment into an $800 repair.
- Replacing the opener when the door is the problem. A door with broken springs kills an opener motor faster. Before replacing any opener, test the door balance manually. A new opener on a broken door is wasted money.
- Buying generic replacement parts for a branded system. A universal remote works on most openers, but springs, cables, and rollers are not universal. A Wayne Dalton door needs Wayne Dalton-spec hardware. Generic parts fail faster and can damage the door.
- Spraying WD-40 on a screw-drive opener rail. This strips the screw-drive grease, and the opener gets louder and rougher. Use lithium grease specifically made for screw-drive rails.
- Propping a broken door open with a mower, ladder, or trash can. If the spring is broken, the full door weight is unsupported. Crude props fail suddenly. Leave the door closed and call a technician.
When to Call a Professional
Call a technician for any spring failure, cable damage, track bend, or opener gear issue. These repairs involve stored energy, heavy components, or precise adjustment that goes beyond what most homeowners should attempt. A broken torsion spring cannot be safely fixed with hand tools. A snapped cable means the door is unstable. A bent track requires realignment that affects the entire balance of the door. Onyx Garage Door Service handles all eight major residential garage door and opener brands through our Garage Door Repair services, including LiftMaster, Chamberlain, Genie, Clopay, Amarr, Wayne Dalton, Craftsman, and Raynor. If you know your brand or can read the error code, we can often diagnose the problem on the phone. Onyx Garage Door Service offers free estimates in Los Angeles, call (877) 588-8251.
Frequently Asked Questions
Garage door repair in Los Angeles typically costs $150 to $350 for most common fixes like roller replacement, sensor realignment, and opener adjustments. Spring replacement runs $250 to $450 depending on whether it’s a single torsion spring or a pair. Full door replacement starts around $1,800 and can exceed $5,000 for custom or insulated designs. Call (877) 588-8251 for an exact quote, estimates are free.
Yes, most garage door repairs are completed the same day. Onyx Garage Door Service carries common parts for LiftMaster, Chamberlain, Genie, and Craftsman systems in the truck, so spring replacement, sensor repair, and opener fixes don’t require a parts order. Call (877) 588-8251 to schedule.
No. The price is quoted and agreed before any work starts. If we find additional issues during the repair, we show you the problem and get your approval before any additional work. The quote you approve is the price you pay.
Yes. Our trucks carry springs, rollers, cables, sensors, remotes, and opener gears for LiftMaster, Chamberlain, Genie, Craftsman, and Raynor systems. Common repairs are completed in one visit.
We service LiftMaster, Chamberlain, Genie, Clopay, Amarr, Wayne Dalton, Craftsman, and Raynor. That covers the vast majority of residential garage doors and openers found in Los Angeles homes. We work on your brand, not just our preferred one.
Intermittent operation is usually a sensor problem (sunlight interference or loose wiring), a failing remote battery, or an overheating opener motor. In Los Angeles, west-facing garages often show intermittent failure only in the afternoon, when direct sun hits the safety sensor. A sun shield solves it permanently.
The Bottom Line
Garage door troubleshooting is about reading signals: the sound, the blinking code, the visual wear pattern. Each one points to a specific component. A snap means spring. A grind means roller or track. Four blinks on a LiftMaster means sensor obstruction. None of these require guesswork. If the repair is on the DIY list, you now know the steps. If it’s not, you know what to say when you call, or check our How to Hire a Garage Door Contractor in Los Angeles: A Step-by-Step Guide to prepare. Onyx Garage Door Service works on all eight major residential brands and covers repair, opener repair, and installation, so one call resolves whatever signal your door is sending. Call (877) 588-8251 for a free estimate.
Written by the team at Onyx Garage Door Service, serving Los Angeles since 2014. Explore more guides & resources on our blog.
See the difference
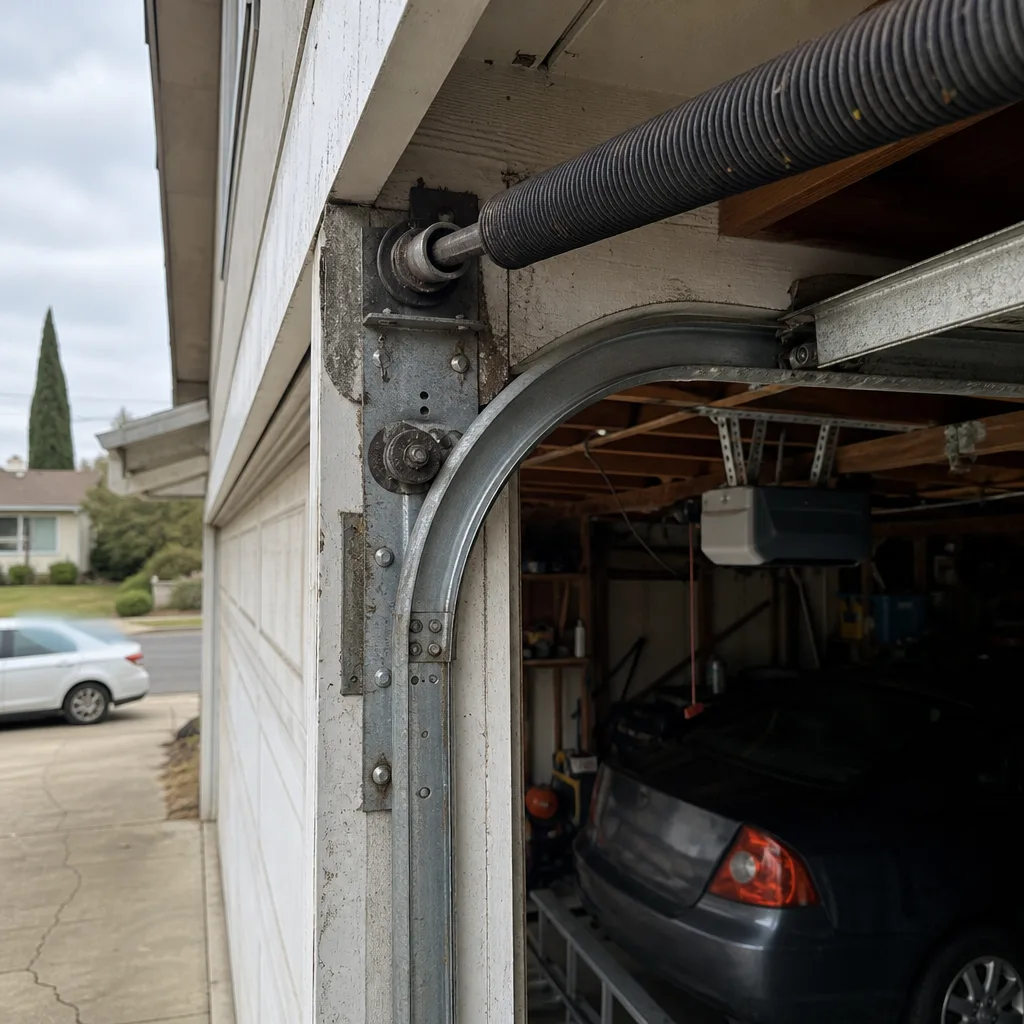
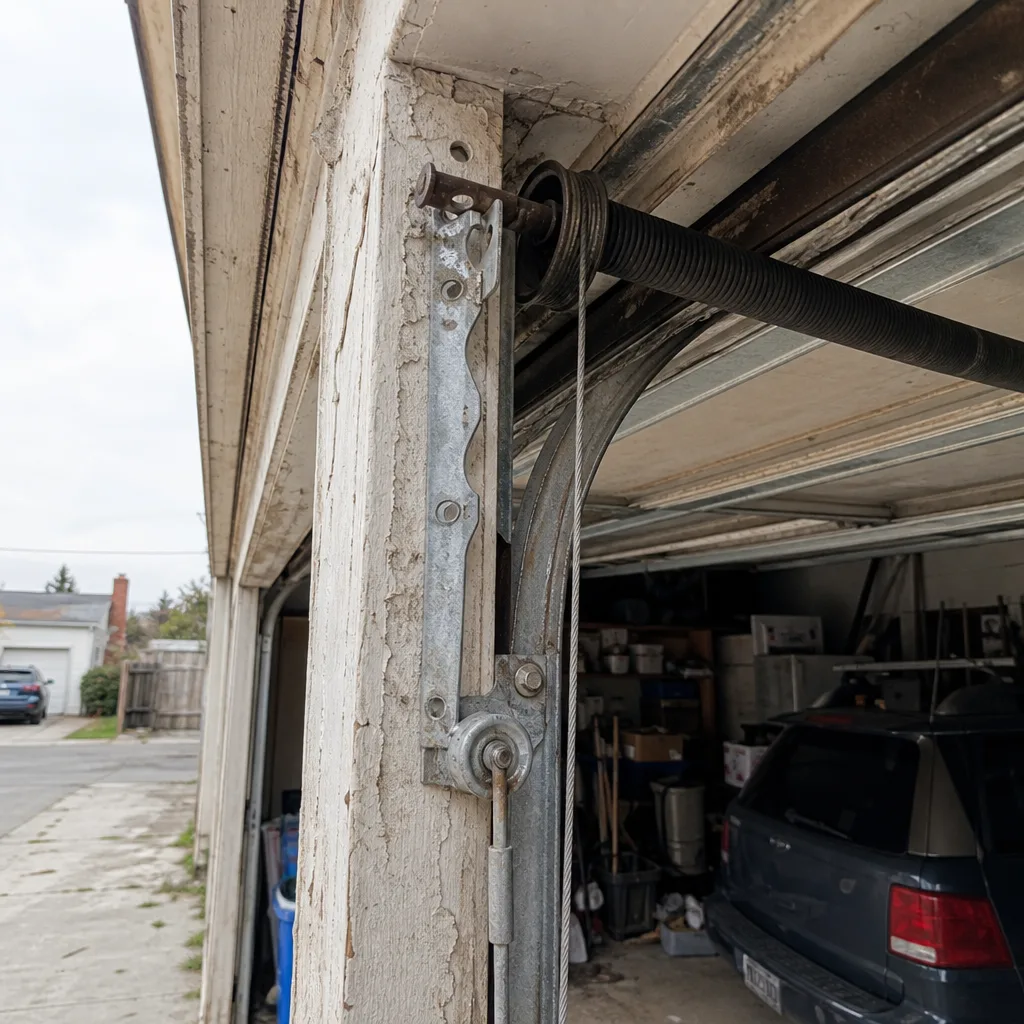
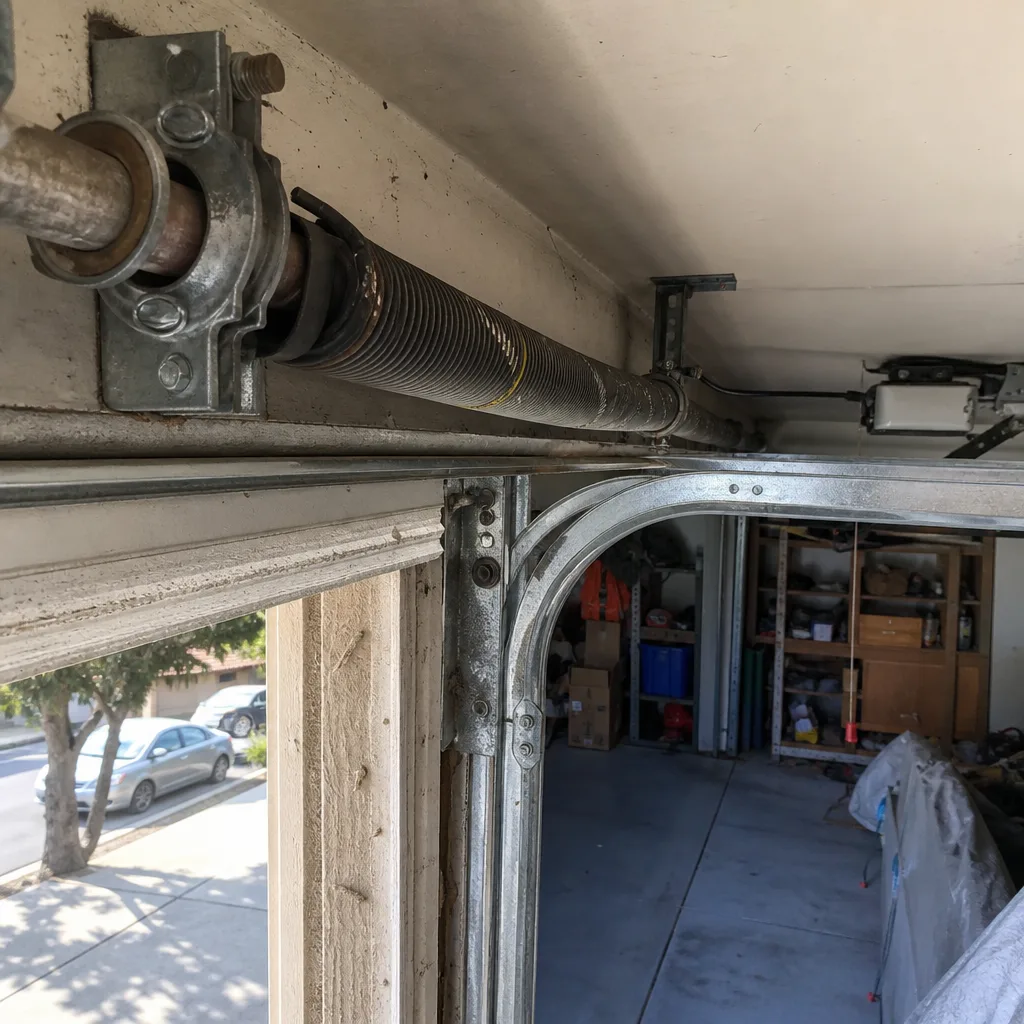 Before
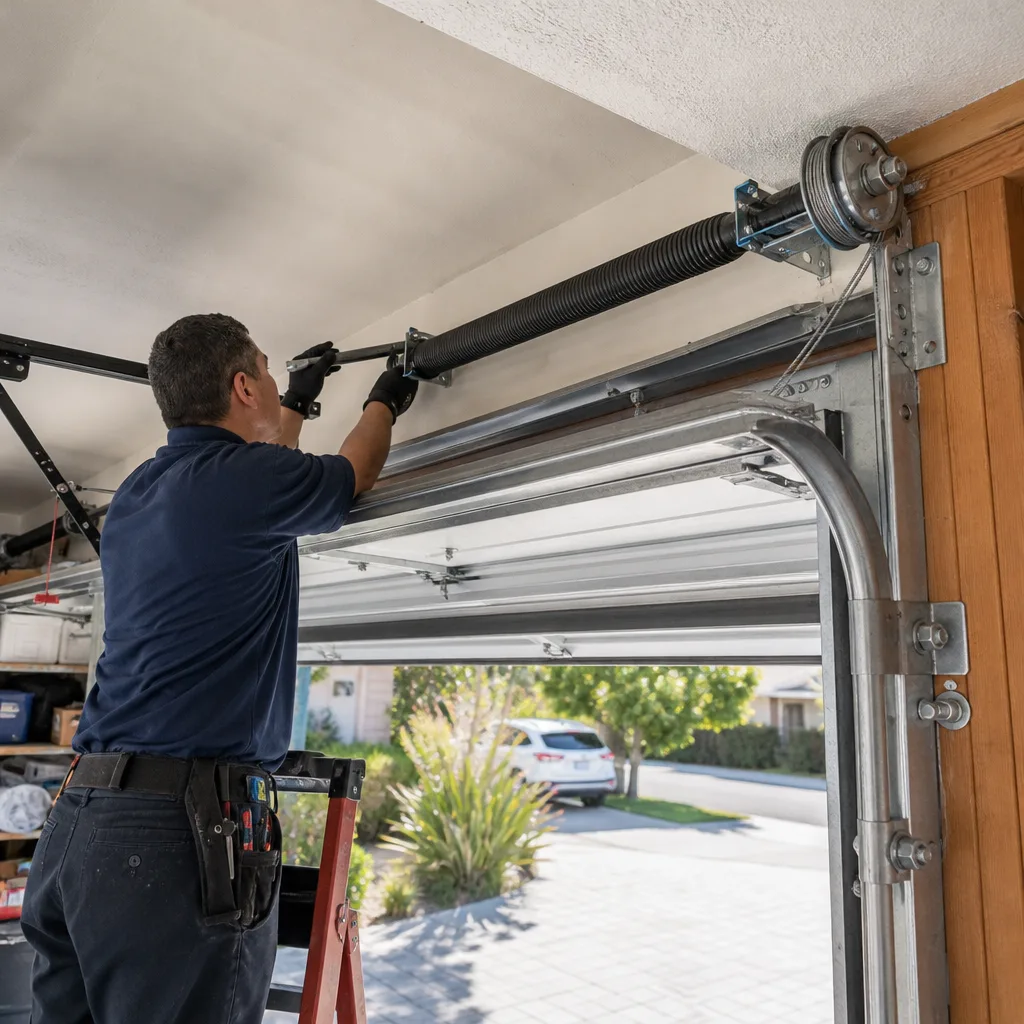
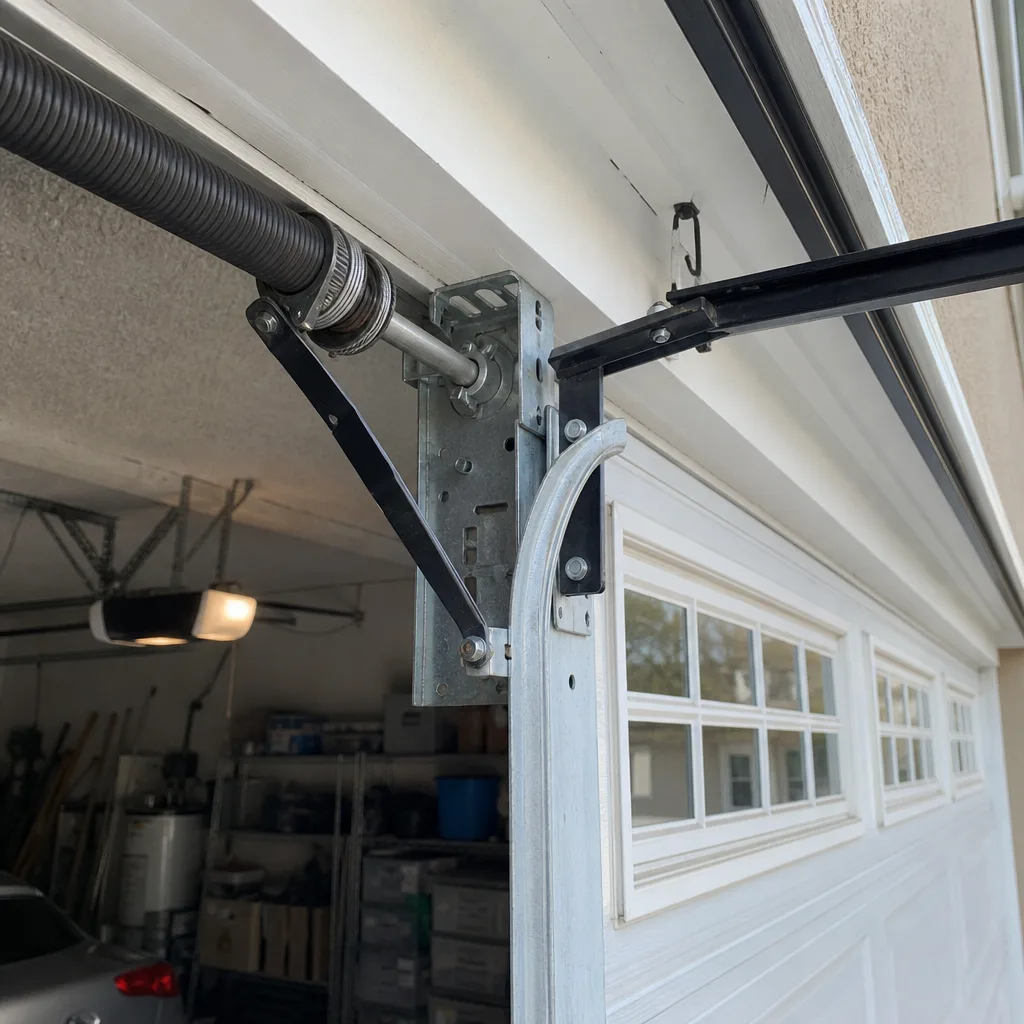
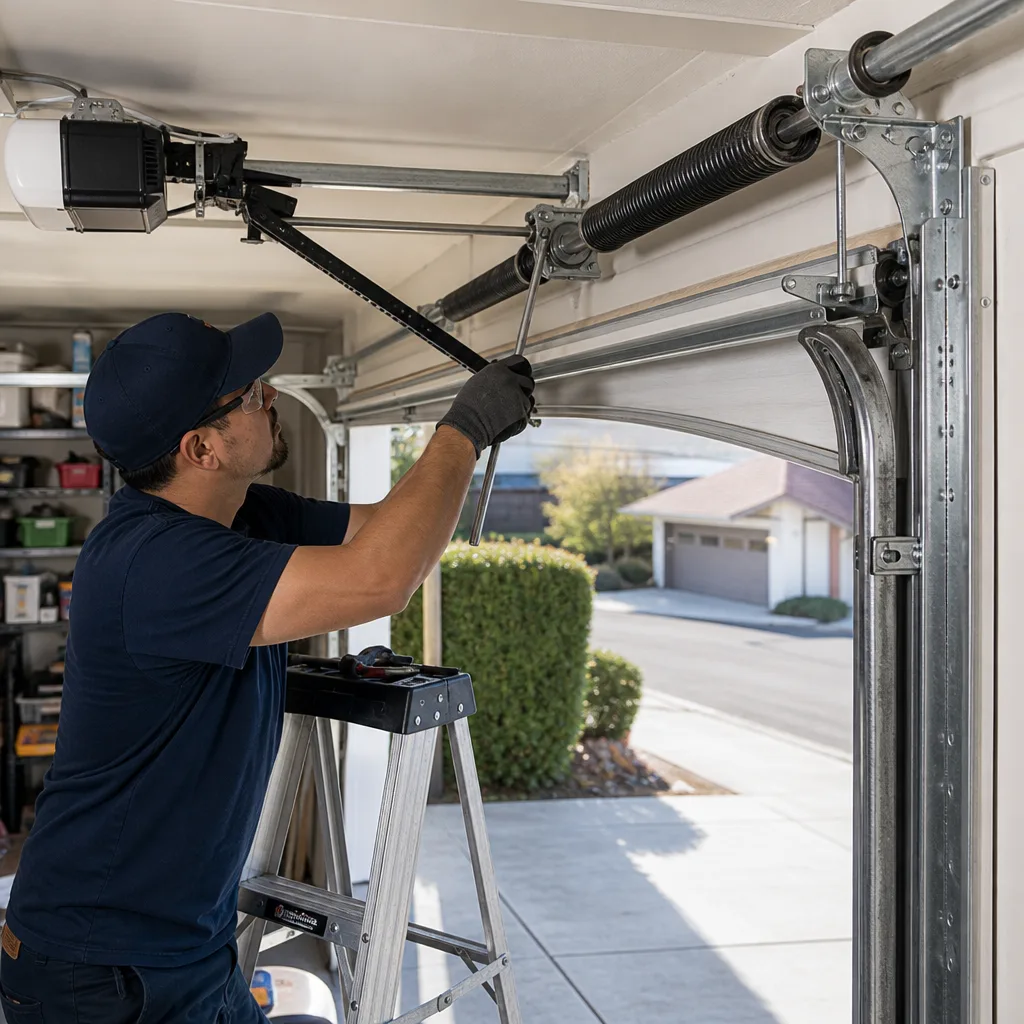 After
 Before
 After
 Before
 After