
Last updated October 31, 2026
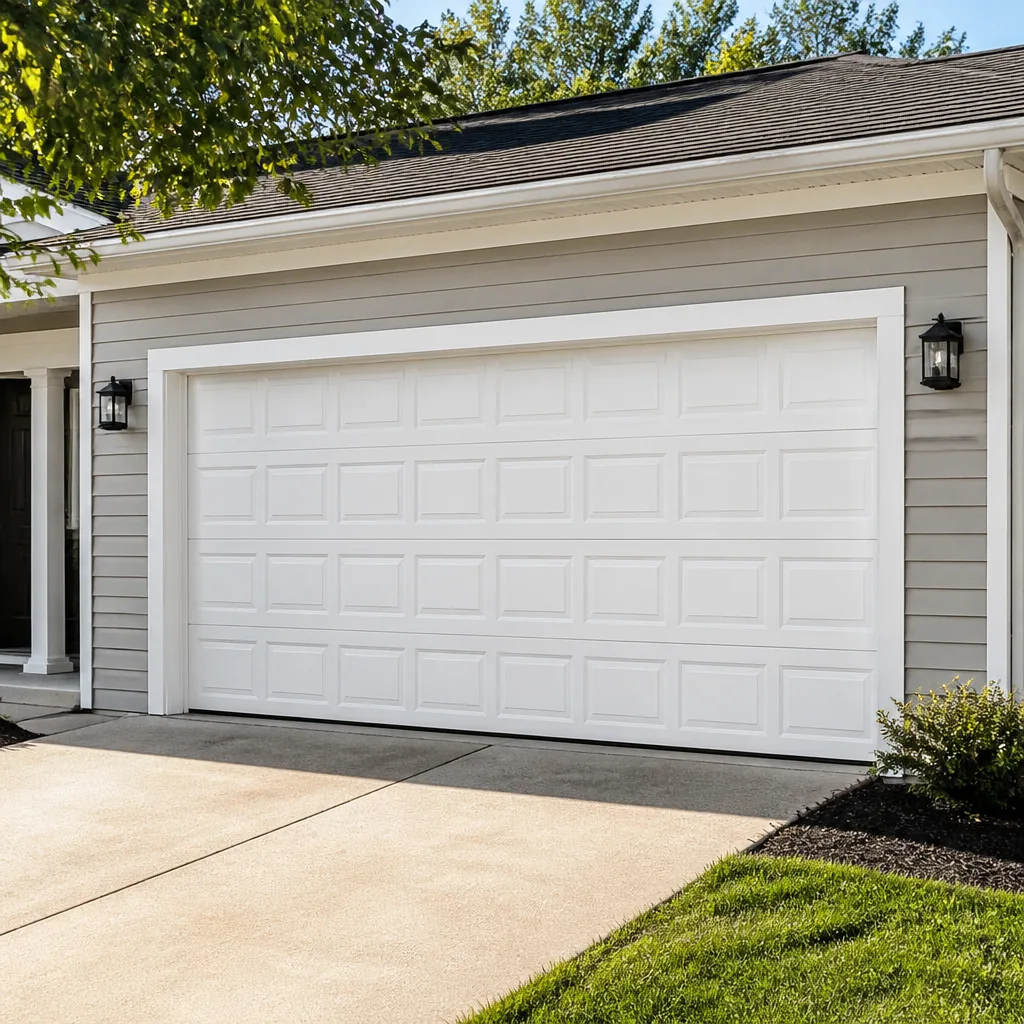 Raised-panel steel
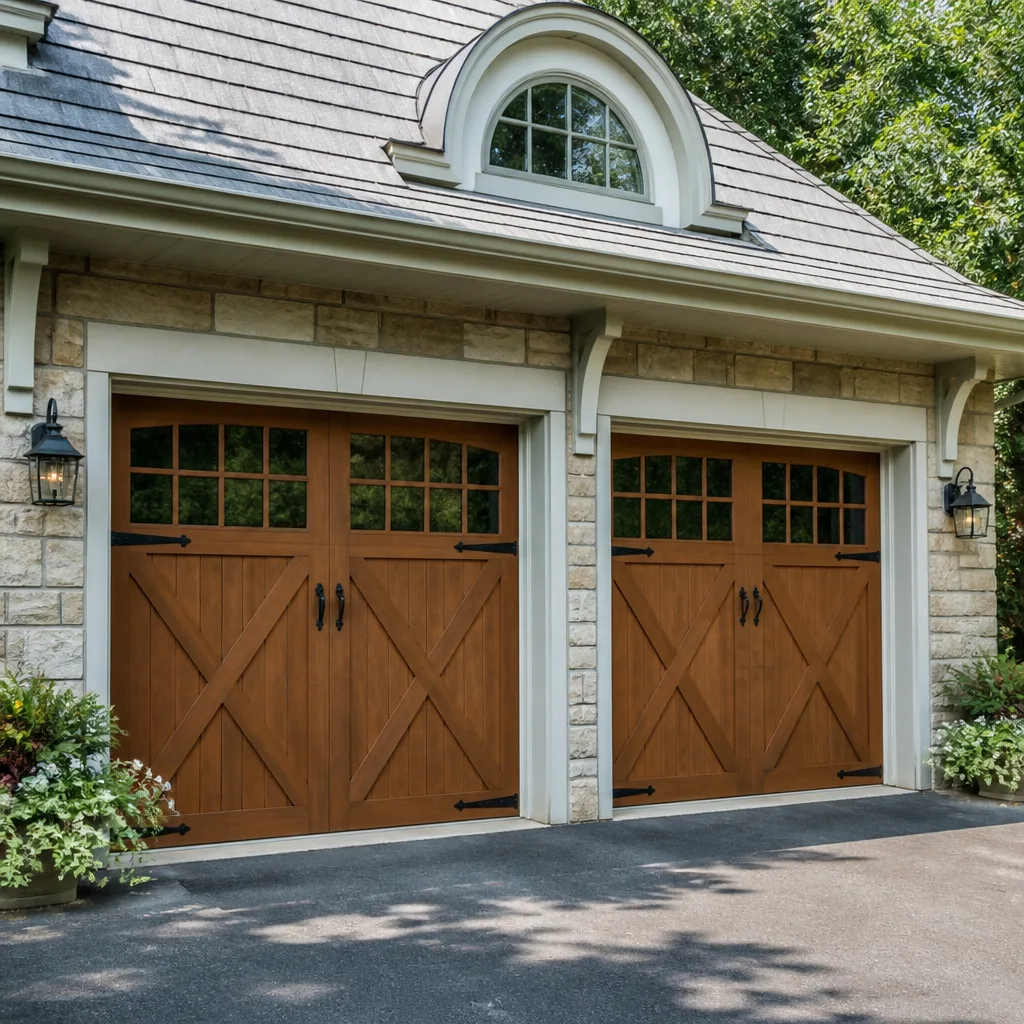 Carriage house
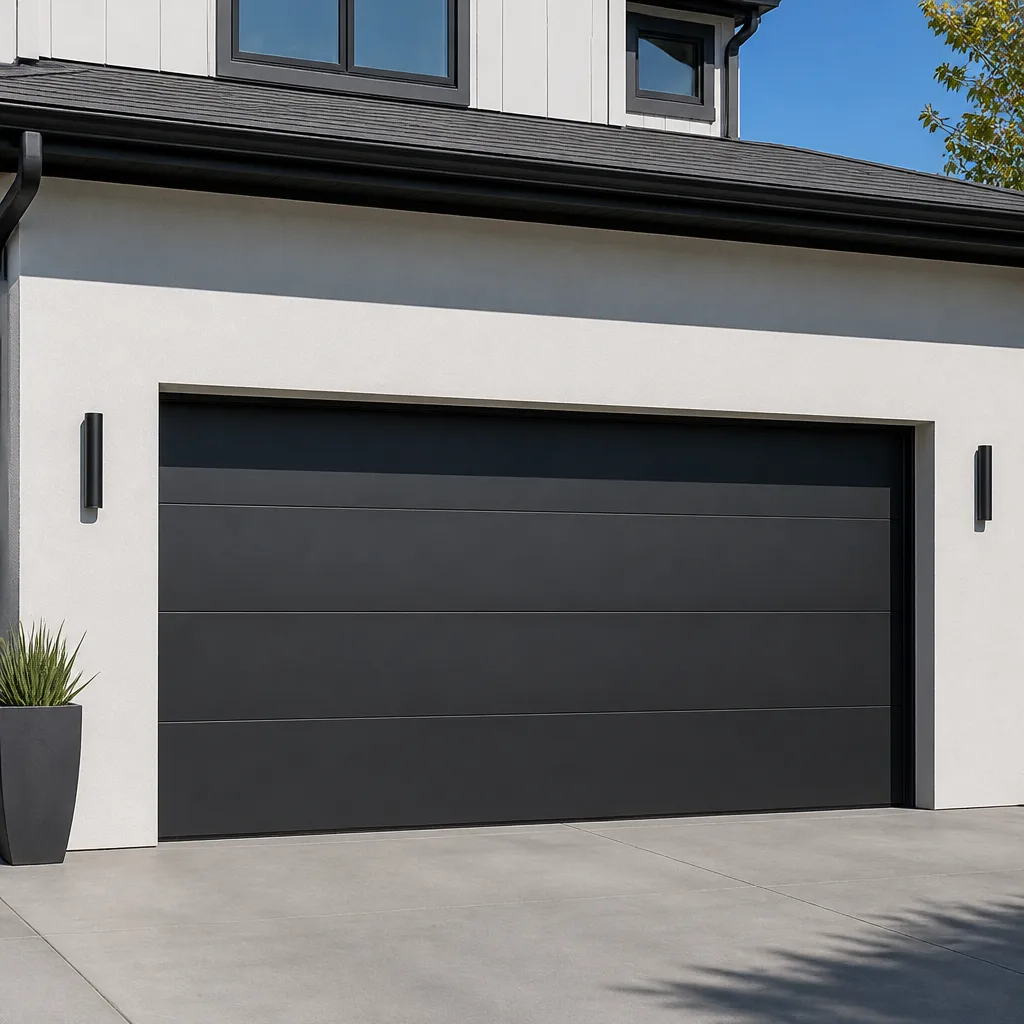 Modern flush
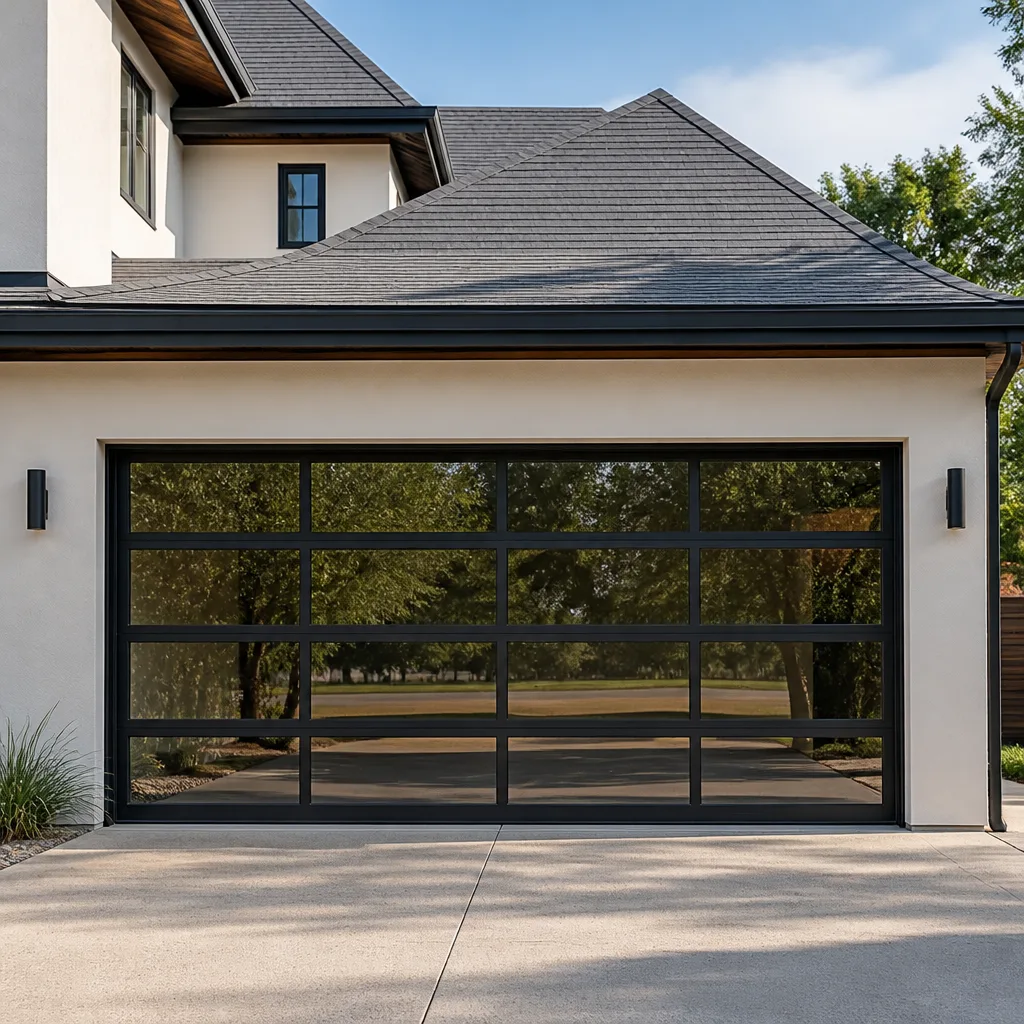 Full-view glass
 LiftMaster openers
 Chamberlain openers
Full 25-point door and opener safety check with every visit - springs, cables, rollers, tracks, and your LiftMaster or Chamberlain opener included
You get a price before we start. It does not change when the truck arrives.
Get your free estimateDIY vs Professional Garage Door: The Los Angeles Homeowner’s Decision Guide
A torsion spring on a standard two-car garage door stores roughly 100 to 150 foot-pounds of torque under full load. That’s enough rotational force to break a forearm, shatter fingers, or send a steel winding bar through drywall at ballistic speed. The honest answer to “can I fix this myself?” in Los Angeles isn’t about how handy you are. It’s about which specific component failed, what kind of spring system your door uses, and whether the risk-adjusted cost of doing it wrong justifies the money you’d save. This guide breaks down exactly which garage door tasks a competent homeowner can handle safely, which ones demand a trained technician, and how to make the smartest financial decision for your specific situation. For a deeper look at pricing, see our Garage Door Cost Breakdown: The Los Angeles Homeowner’s Reference for 2026.
Quick Answer
Most garage door maintenance tasks in Los Angeles are safely DIY-able, including weatherstripping replacement, photo-eye sensor realignment, remote control programming, and roller lubrication. However, anything involving torsion springs, lift cables, bottom brackets under tension, or door panel replacement requires professional service due to genuine risk of severe injury. The rule is simple: if the component stores mechanical energy when the door is closed, hire a pro.
Styles & brands we work with
Table of Contents
- The Task Matrix: What’s DIY vs. What’s Dangerous
- Understanding Your Spring System Before You Decide
- The Real Cost-Benefit Math for Los Angeles Homeowners
- California Insurance and Liability: What Happens When DIY Goes Wrong
- Safe DIY Tasks: Step-by-Step Procedures That Actually Work
- Using DIY Diagnostics to Reduce Your Professional Repair Bill
- Brand-Specific Considerations: What Changes Between Manufacturers
- When to Call a Professional
- Frequently Asked Questions
The Task Matrix: What’s DIY vs. What’s Dangerous
The DIY vs. professional decision isn’t a skill question. It’s a physics question. Some garage door components are designed to be user-serviceable. Others are under enough stored tension to kill you. Understanding which category your problem falls into is the first decision point, and it matters more than how many YouTube tutorials you’ve watched.
In Los Angeles, where many homes were built between 1940 and 1980, we regularly encounter doors that have been retrofitted, patched, and modified across multiple decades. That layered history often means the original safety markings have worn off, the tension label is illegible, and the spring system doesn’t match what the opener manual describes. When in doubt about which system you have, treat it as the more dangerous type until proven otherwise.
Safe for Most Homeowners
These tasks involve components that don’t store significant mechanical energy. You can complete them with basic tools and a reasonable level of mechanical confidence:
- Weatherstripping replacement: The rubber seal along the bottom of the door degrades in LA’s UV-heavy sun and becomes brittle within three to five years. Replacement involves sliding out the old strip and pressing in a new one. No special tools required.
- Photo-eye sensor realignment: When the door reverses before closing, the sensors at the bottom of each track are usually misaligned or dirty. Cleaning the lens and adjusting the bracket are straightforward fixes.
- Remote control programming: Most openers from LiftMaster, Chamberlain, Genie, and Craftsman have a clearly marked “Learn” or “Program” button. Following the printed instructions in the owner’s manual resolves 90% of remote issues.
- Roller and hinge lubrication: Applying white lithium grease or silicone spray to rollers and hinges every 6 to 12 months reduces noise and extends component life. This is routine maintenance, not repair.
- Track inspection and cleaning: Wiping debris from the vertical and horizontal tracks, then tightening visible bolts, prevents many alignment problems before they start.
- Opener force adjustment: Most modern openers have dials or buttons on the motor unit specifically designed for homeowner adjustment of force settings and travel limits.
Requires a Trained Technician
These components store mechanical energy even when the door is fully closed. Attempting to service them without proper winding bars, cable clamps, and experience has resulted in injuries that permanent and severe:
- Torsion springs: These are the coiled springs mounted horizontally on a shaft above the door opening. They’re wound under extreme tension. Releasing that tension improperly is the single most dangerous act in residential home maintenance.
- Extension spring cables: On older systems, long springs stretch along the horizontal tracks. When one breaks, the cable snaps back with enough force to lacerate skin and break bones.
- Bottom brackets and cables: These components are under full spring tension when the door is down. Removing them without securing the spring system first is asking for a cable whip to the face.
- Door panel replacement: Individual panels on a sectional door are heavy and must be removed in sequence while managing the cables and springs. Doing this wrong bends tracks and damages sections beyond repair.
- Full door or opener replacement: This requires precise measurements, correct spring sizing, proper track alignment, and opener configuration. Errors here compound quickly.
The pattern is clear: if it’s loaded with torque or tension, call someone who does this every day. If it’s a wear item or an adjustment designed for user access, you can handle it. This framework applies whether you’re in Sherman Oaks or San Pedro.
Understanding Your Spring System Before You Decide
Before you touch anything on your garage door, look up. Identifying which spring system your door uses takes thirty seconds and fundamentally changes the DIY risk calculation. This is the step most Los Angeles homeowners skip, and it’s why some of them end up in urgent care.
How to Identify Your System
- Look at the wall above the closed door. Do you see a horizontal shaft with two tightly coiled springs wrapped around it? That’s a torsion system. The springs sit above the center of the door, mounted on a metal tube or bar.
- Look along the horizontal tracks near the ceiling. Do you see long, stretched-out springs running parallel to the tracks on both sides? Those are extension springs. They stretch when the door closes and contract when it opens.
- Count the turns on the torsion spring. Closer-spaced coils on a stationary spring mean higher tension. Wider-spaced coils indicate a less heavily wound spring, but even those carry dangerous force.
- Check for a safety cable. Extension spring systems should have a metal cable running through the center of each spring. If that cable is missing, the spring can become a projectile when it breaks.
Why the Distinction Matters
Extension springs and torsion springs fail differently and pose different risk profiles. An extension spring breaks cleanly, usually at the end where it hooks to the track bracket. The broken half stays attached to the safety cable if present, or whips forward if not. A torsion spring fractures at a weak point in the coil, but because it’s mechanically locked to the central shaft, the two halves remain largely in place. The danger with torsion springs comes not from the break itself, but from the removal and winding process.
Here’s the critical difference for your DIY decision: working on an extension spring system with intact safety cables is significantly less risky than working on a torsion system. Some homeowners with strong mechanical aptitude can safely replace an extension spring by following meticulous procedures. Torsion spring replacement, by contrast, requires winding bars inserted into specific ports, quarter-turn tension increments, and a precise count of total winds. Get it wrong and the bar ejects at speed. We have seen the aftermath of these accidents in Silver Lake and Encino; the medical bills alone exceeded what the professional repair would have cost by a factor of ten.
The Real Cost-Benefit Math for Los Angeles Homeowners
Let’s be honest about money. The reason anyone considers DIY garage door work in Los Angeles is to save cash. A professional repair feels expensive, and YouTube makes everything look simple. But the math changes when you account for the full cost of DIY, not just the parts.
What Parts Actually Cost vs. What Professionals Charge
Here’s a realistic breakdown of what you’re saving and what you’re risking on common repairs:
| Repair Task | DIY Parts Cost | LA Professional Cost Range | Realistic DIY Savings |
|---|---|---|---|
| Bottom weatherstripping | $15 to $35 | $85 to $150 | $50 to $115 |
| Photo-eye realignment | $0 to $10 (cleaning supplies) | $75 to $125 | $65 to $125 |
| Roller replacement | $20 to $40 for a set | $120 to $200 | $80 to $160 |
| Extension spring replacement | $30 to $60 | $150 to $250 | $90 to $190 |
| Torsion spring replacement | $60 to $120 for springs | $250 to $400 | $130 to $280 (but see risk) |
| Opener replacement | $150 to $300 for unit | $400 to $750 installed | $250 to $450 |
Those DIY savings figures look substantial until you factor in the following:
- Specialty tools: Torsion spring work requires winding bars ($20 to $40), a proper ratchet set, possibly a spring tension gauge. You’ll likely use them once.
- Time cost: A technician completes most repairs in 45 to 90 minutes. A first-time DIY homeowner should budget four to six hours, including YouTube research, trips to the hardware store, and redoing mistakes.
- Mistake cost: Ordering the wrong spring tension rating, damaging a panel while handling it, or bending a track during a botched repair adds $100 to $400 to the eventual professional bill.
- Risk-adjusted cost: Even a 1 in 50 chance of an emergency room visit for a torsion spring accident adds a statistical cost of $50 to $200 to every DIY attempt, before you factor in lost work time and recovery.
In Los Angeles specifically, where the opportunity cost of a Saturday afternoon is high and where professional garage door services remain competitive due to market density, the rational calculation favors DIY only for the safe, low-skill tasks. For spring work, cable work, and panel work, the small savings don’t justify the tail risk.
California Insurance and Liability: What Happens When DIY Goes Wrong
This is the section most garage door DIY guides skip entirely, and it’s the one that matters most in Los Angeles. For full details on permits and compliance, read our guide to Garage Door Permits, Codes & Inspections in CA: What You Need to Know. California’s insurance and liability landscape treats unpermitted structural work differently than most states, and that distinction has real financial consequences.
The Insurance Claim Problem
California homeowners insurance policies typically exclude coverage for damage caused by faulty workmanship, including self-performed repairs. If you replace a torsion spring yourself, get the tension wrong, and the spring fails two months later causing the door to crash down on your car or injure a family member, your insurer may deny the claim on the grounds that the damage resulted from improper maintenance or modification by an unlicensed individual. In practical terms, the money you saved on the repair becomes a fraction of the denied claim amount.
Professional repairs shift this liability. When a licensed, insured garage door company performs the work, their errors are typically covered by either their commercial liability insurance or your homeowner’s policy under the “negligent work by others” provision. The same failed spring repair, performed professionally, becomes a covered insurance matter rather than a denied claim and a personal financial loss.
Permitting and Code Compliance
Garage door replacement in Los Angeles technically falls under the California Residential Code, and the City of Los Angeles Department of Building and Safety requires permits for structural modifications. Replacing an entire door with a new unit that changes weight or balance characteristics technically triggers permit requirements, especially for attached garages with fire-rating requirements. In practice, almost nobody pulls a permit for a straight door replacement, but the code requirement exists and matters when claims are filed or properties are sold.
For homeowners doing DIY installs, unpermitted work discovered during a sale can delay escrow or require retroactive inspection. Professional installers understand these requirements and can advise on when permits are genuinely needed versus when the work qualifies as “like-for-like replacement” that doesn’t trigger review.
Rental Property Liability
Los Angeles has a massive rental market, and many garage doors serve rental properties. If you’re a landlord, the liability calculus shifts dramatically. California courts have found landlords liable for injuries sustained by tenants when garage doors malfunctioned due to improper maintenance. Self-performed repairs on a rental property expose you to significantly greater legal risk than the same repair on your own home, because you’re now responsible for the safety of another party who has no control over the work quality.
Safe DIY Tasks: Step-by-Step Procedures That Actually Work
Now that the dangerous tasks are clearly flagged, here’s a practical guide to the maintenance and minor repairs every Los Angeles homeowner should be able to perform. For additional safety planning, see our Garage Door Emergency Preparedness Guide for Los Angeles Homes. These procedures are safe when followed correctly and will save you money year after year.
Replacing Bottom Weatherstripping
- Close the door and measure the width. Most Los Angeles homes use either a 16-foot or 18-foot door. Buy a replacement strip that’s slightly longer and cut to fit.
- Pull out the old strip. Most strips slide into a T-channel or U-channel retainer along the bottom of the door. Start at one end and pull.
- Clean the channel. Remove accumulated dirt, old adhesive, and rust with a wire brush and a rag.
- Lubricate the channel lightly. A thin coat of silicone spray helps the new strip slide in evenly.
- Feed the new strip from one side. Push it through slowly, keeping it aligned. If the strip binds, apply a bit more silicone lubricant.
- Trim the excess. Leave about half an inch of overhang on each end to account for seasonal expansion and contraction in LA’s temperature swings.
Realigning Photo-Eye Sensors
- Check whether both sensors show a solid LED light. One sensor emits infrared light (green LED), the other receives it (red or amber LED). A blinking light means misalignment or obstruction.
- Clean both lenses with a soft cloth. LA dust and spider webs are the most common culprits.
- Loosen the wing nut on the mounting bracket. You’ll be able to adjust the sensor’s aim.
- Align the sensors so they face each other directly. Match the height of both units on the vertical track.
- Tighten the wing nut and verify. The LEDs should go solid. Test the door; it should close fully without reversing.
Lubricating Rollers, Hinges, and Springs
Use white lithium grease for metal-on-metal contact points and silicone spray for nylon rollers and plastic components. Apply a thin coat to each of the four to six hinge points, each roller’s axle, and the length of both torsion springs. Wipe off excess. Perform this service every six months, using the seasonal transition into LA’s rainy winter and back into dry summer as your reminder. Avoid using WD-40 as a lubricant; it’s a solvent and will strip away existing lubrication rather than replacing it.
Programming a Replacement Remote
For LiftMaster and Chamberlain openers: locate the “Learn” button on the motor housing (usually yellow, green, or purple). Press it until the small LED illuminates. Within 30 seconds, press any button on your new remote twice. The opener light will blink to confirm. For Genie openers: hold the “Program” button on the motor until the LED turns solid, then press the remote button twice. For Craftsman openers: locate the “Learn” button near the antenna wire, press and release, then press the remote button. Always test with both the remote and the wall button afterward.
Using DIY Diagnostics to Reduce Your Professional Repair Bill
Here’s a practical approach that many Los Angeles homeowners overlook: you can save significant money on professional service by doing the diagnostic work yourself before scheduling a technician. It won’t eliminate the repair cost, but it can reduce the diagnostic time you’re paying for, and it often accelerates the repair process.
Document What You Observe
Before calling for service, take note of the following details and share them with the dispatcher:
- The exact symptom: Does the door open halfway and stop? Does it reverse before closing? Does it make a specific noise when moving?
- When it started: Did the problem begin suddenly (suggesting mechanical failure) or gradually (suggesting wear)?
- What you’ve already tried: Have you lubricated anything? Adjusted sensors? Reprogrammed remotes? This prevents the technician from repeating your work.
- The spring type: Torsion or extension. You learned how to identify this above. This detail alone lets the technician know what tools and parts to bring.
- The door brand and opener brand: Check the manufacturer labels on the door panels and the opener motor. Model numbers, if visible, are even more useful.
Photograph the Damage
Take clear photos of broken springs, frayed cables, bent tracks, or damaged panels. Send them when you book the appointment. A trained eye can often identify the correct replacement parts, spring tension rating, and repair scope from photos alone, which means the technician arrives with the right components on the truck and completes the work in a single visit.
In our experience, Los Angeles homeowners who provide photos and clear symptom descriptions before their service call average 30 to 45 minutes less technician time than those who say “the door is broken.” That’s real savings on the final invoice, and it’s the smart way to involve yourself in the repair without touching dangerous components. Explore more guides & resources to keep your system running smoothly.
Brand-Specific Considerations: What Changes Between Manufacturers
Garage door systems in Los Angeles aren’t uniform. The brand of your opener and the manufacturer of your door panels affect everything from part availability to repair complexity. Here’s what you need to know about the systems most commonly found in LA-area garages.
LiftMaster and Chamberlain Systems
These two brands share a common parent company and use largely identical internal components across many opener models. If your home has a LiftMaster opener, it was likely installed by a professional garage door company, while Chamberlain units are more commonly found as DIY big-box store purchases. Both brands use proprietary remotes and wireless keypads, though modern units from either line typically support universal compatibility. The most common failures we see in Los Angeles homes with these openers are gear-and-sprocket wear, capacitor failures on older units, and remote programming issues after power outages.
Genie Systems
Genie openers are prevalent in mid-century Los Angeles homes, particularly those built in the 1950s through 1970s. Older Genie screw-drive models are remarkably robust, with fewer moving parts than chain-drive alternatives. Their weakness is the travel-limit module and wall console, both of which fail more frequently than the motor itself. If you have a Genie system, you may be able to extend its life significantly by replacing these modular components rather than the entire opener.
Craftsman Systems
Craftsman openers dominated the Sears era, and many are still running in Los Angeles garages decades later. They share components with Chamberlain models from the same production years, which means parts are often interchangeable. The most common Craftsman failures involve the nylon drive gear, remote control boards, and safety sensor wiring. Many Craftsman units can be repaired economically, but proprietary parts for pre-2000 models are becoming scarcer.
Raynor Doors
Raynor is less common in Los Angeles than in other markets, but it does appear in upscale and custom homes. Raynor doors are generally well-made, with specific steel gauge and insulation options that differ from mainstream brands. Repair requires familiarity with Raynor’s track profiles and spring configurations, which do not always interchange with Clopay or Amarr parts.
This brand-specific knowledge matters for one reason: when you hire a technician who works on eight major brands rather than specializing in one, you get faster diagnosis and correct parts on the first visit. That’s the practical difference between a specialist who knows your system and a generalist who’s learning it on your dime.
When to Call a Professional
The decision framework in this guide boils down to a simple set of triggers. Call a professional immediately if the door falls faster than normal when closing, if you hear a loud bang from the spring area, if the cables appear frayed or disconnected, or if any component under tension shows visible damage. Call a professional if you have a rental property and the door shows any malfunction, because your liability exposure is higher. Call a professional if you’ve attempted a DIY fix and the problem persists or worsens.
And call a professional when the value of your time simply exceeds the cost of getting it done right. In Los Angeles, where commute times and work schedules leave little margin for weekend projects that stretch into Monday, that calculation often favors hiring. Onyx Garage Door Service offers free estimates throughout the Los Angeles area. Call (877) 588-8251 to describe your issue and get a clear answer about what’s safe to handle yourself and what needs professional attention.
See the difference
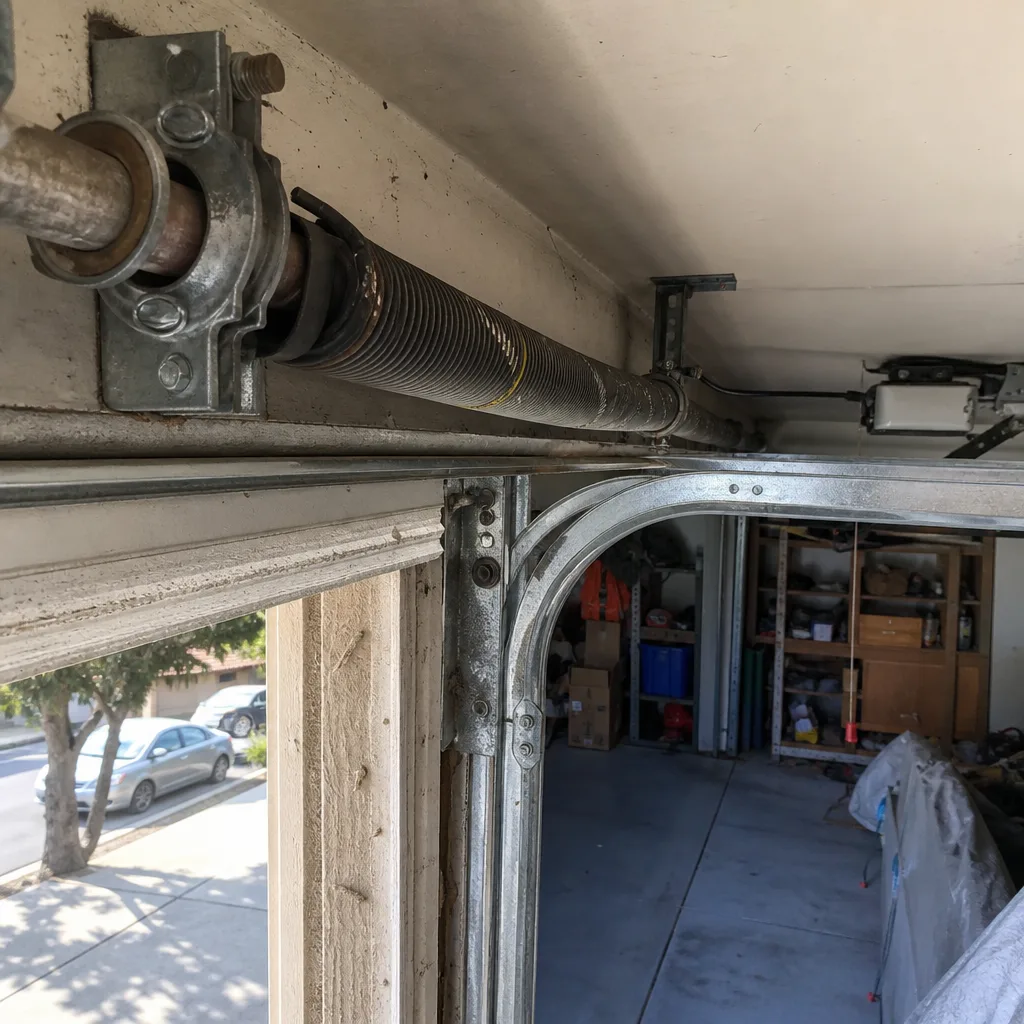 Before
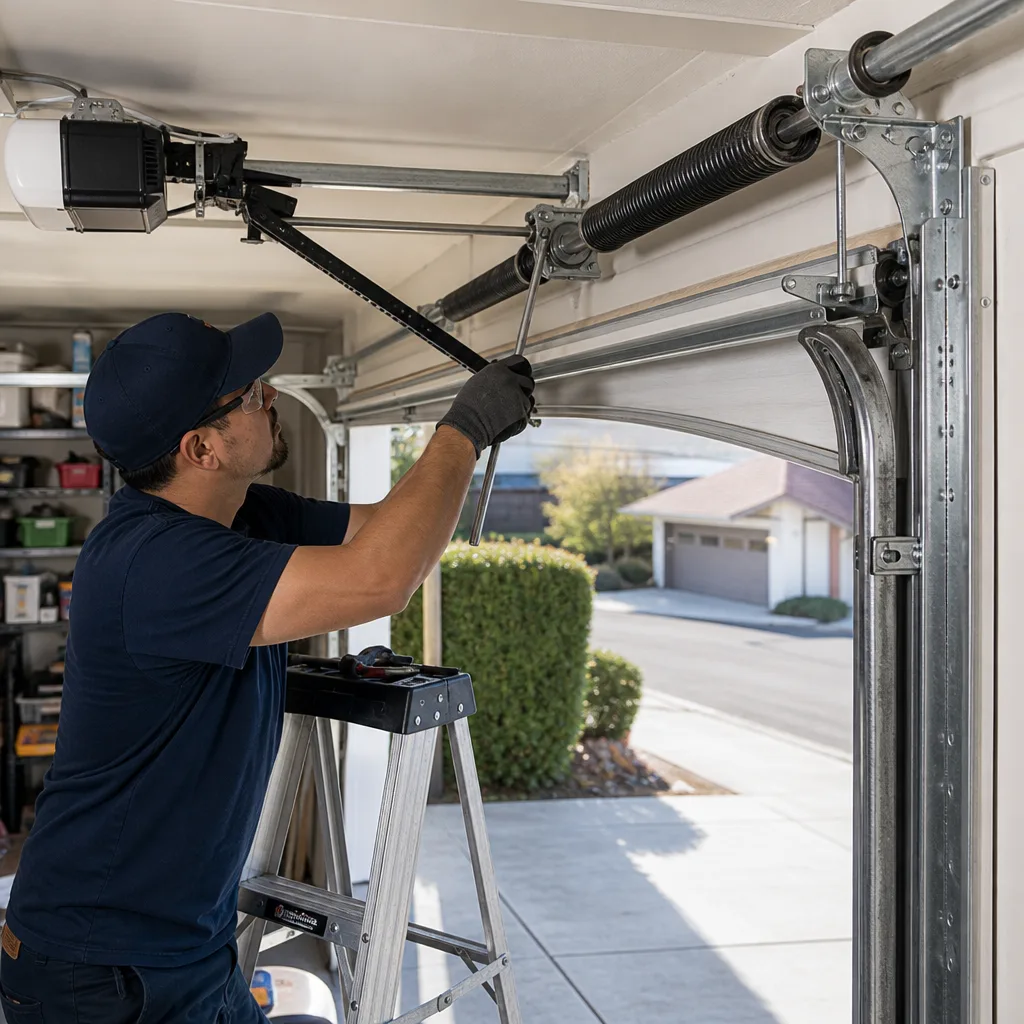 After
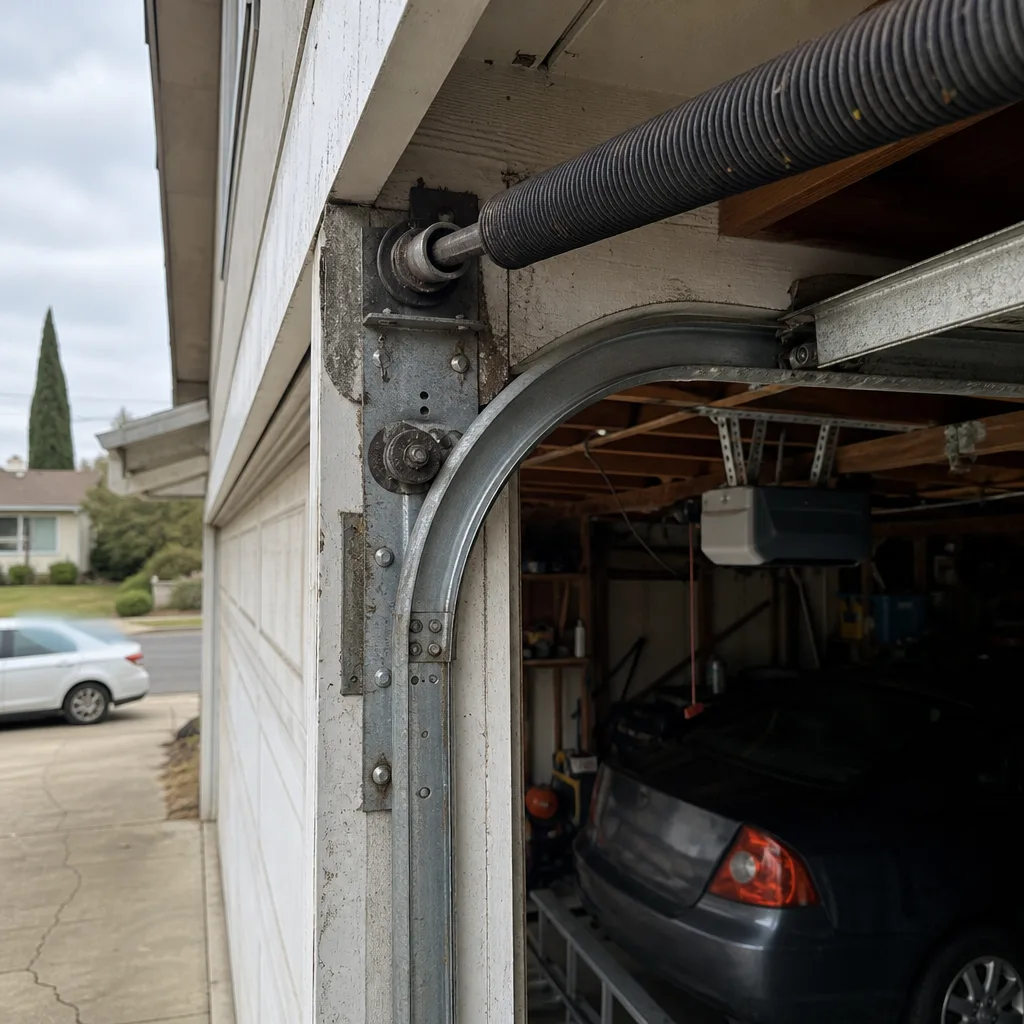 Before
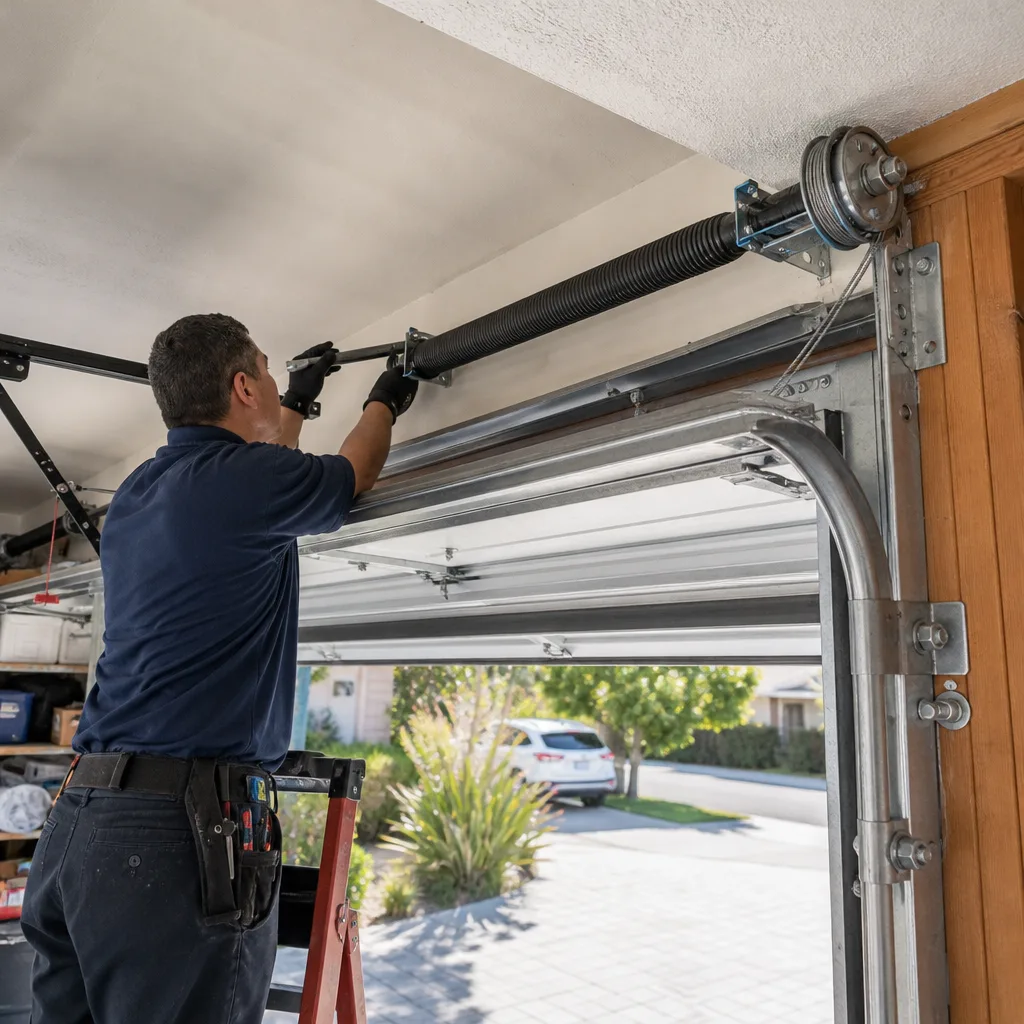 After
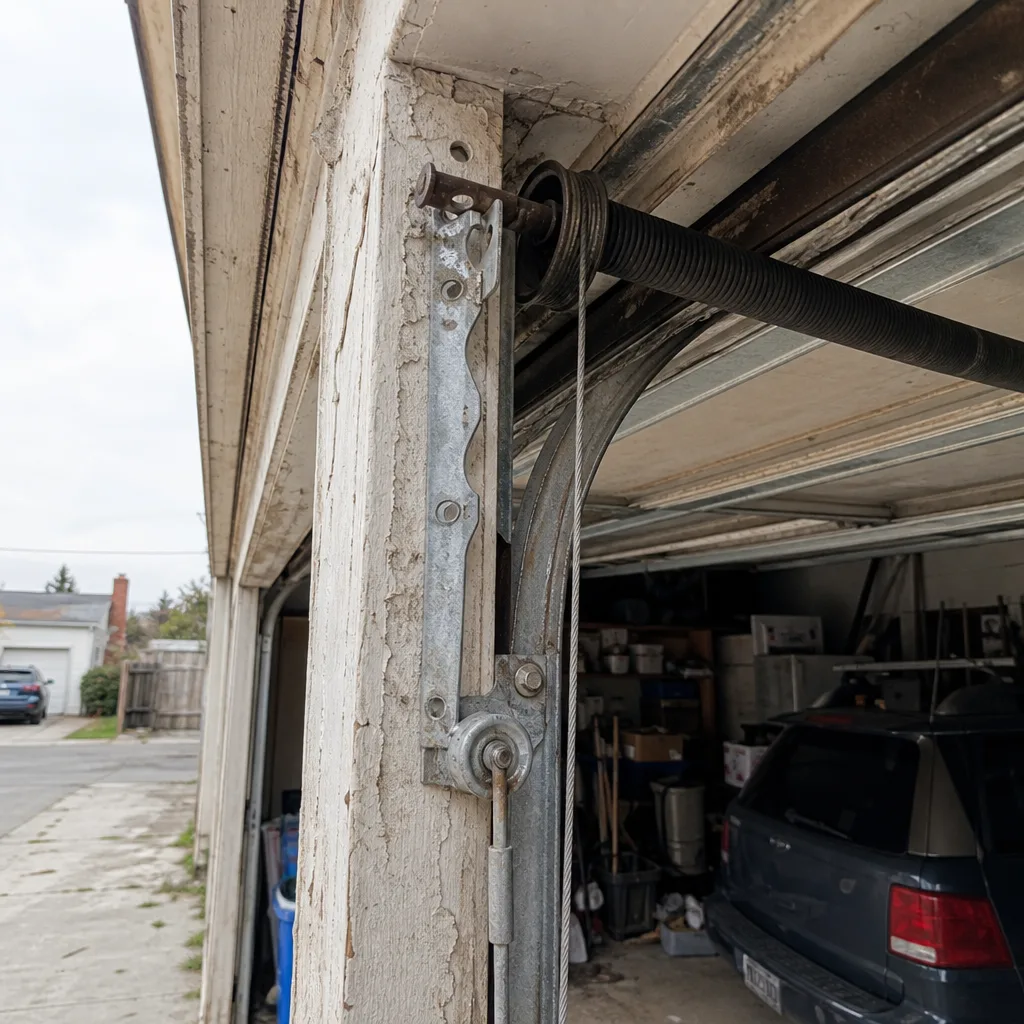 Before
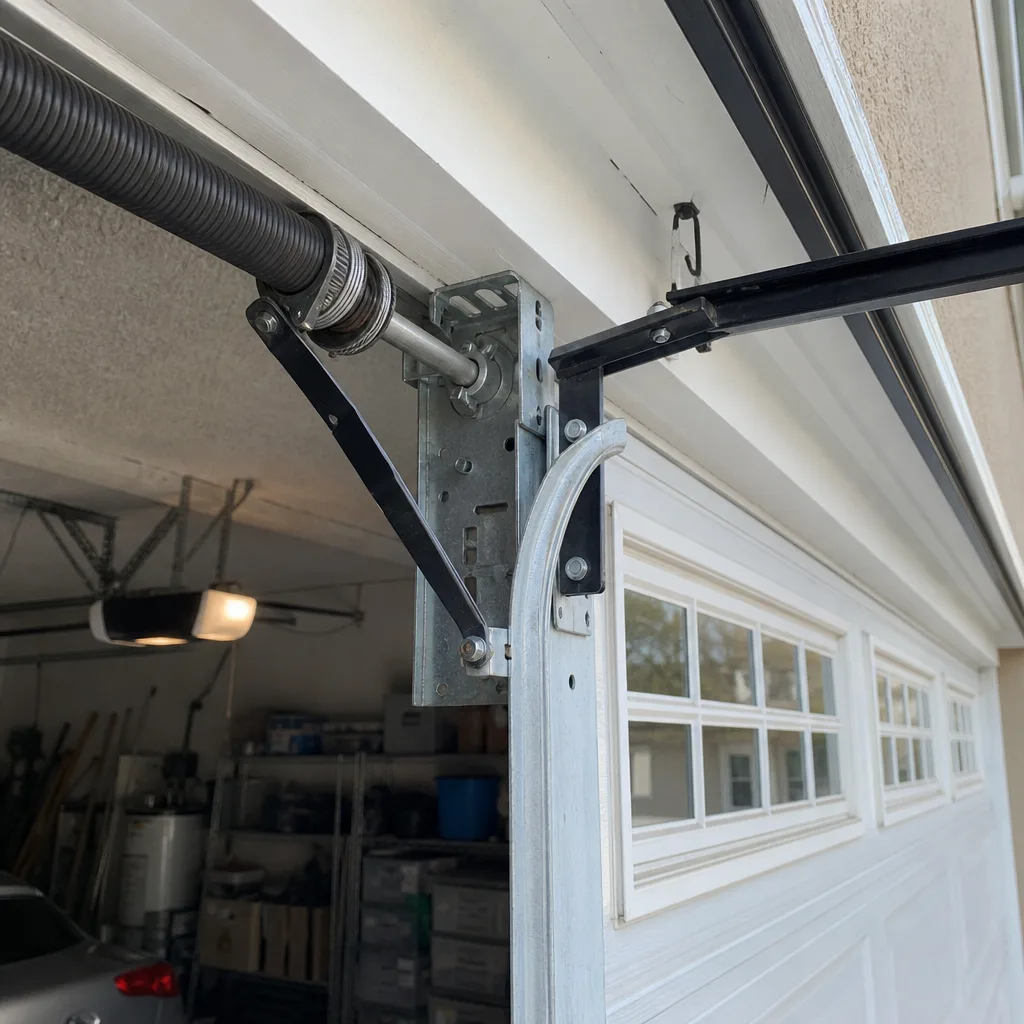 After
Common Mistakes to Avoid
These are the specific errors we see repeatedly in Los Angeles garages, and they cost homeowners real money:
- Using the wrong lubricant. WD-40 is a solvent, not a lubricant. It strips away the grease your rollers and hinges need. Use white lithium grease or silicone spray instead.
- Replacing one torsion spring instead of both. Garage door springs are sold in matched pairs and wear at the same rate. Replacing only the broken spring leaves you with an unbalanced door and an imminent second failure.
- Guessing the spring tension rating. Torsion springs are color-coded by weight capacity. Installing a spring with the wrong rating causes the opener to work harder, wears out components prematurely, and creates dangerous balance issues.
- Attempting cable replacement without securing the spring. This is the fastest way to turn a $200 repair into a $2,000 emergency room visit. The bottom bracket is under full spring tension even with the door open.
- Ignoring gradual changes in door behavior. A door that’s slowly getting louder, slower, or less balanced is signaling wear. Catching issues at this stage usually means a $150 to $250 repair instead of a $400 to $700 replacement.
- Buying parts before diagnosing the problem. Purchasing springs, cables, or rollers before confirming the exact failure means you often buy the wrong component, waste money, and delay the actual fix.
We also see Los Angeles homeowners misjudge the condition of their entire system. A door that’s 20 years old with original springs, rollers, and cables isn’t a candidate for a single-component DIY fix. It’s a system approaching end of service life, and patching one part simply moves the failure to the next weakest component. For context on what full system replacement involves, see our Garage Door Installation in South Gate guide for pricing and process details.
Frequently Asked Questions
Professional garage door repair in Los Angeles typically costs between $150 and $400 depending on the component, with torsion spring replacement at the upper end and simple adjustments at the lower end. We quote exact pricing before any work begins, and the price you’re quoted is the price you pay. Call (877) 588-8251 for a free estimate specific to your door and system.
Extension spring replacement is possible for a mechanically experienced homeowner with proper safety cables in place, but torsion spring replacement requires specialized winding bars, precise technique, and carries serious injury risk. The medical and repair costs of a botched torsion spring job far exceed professional service fees. We don’t recommend DIY torsion spring work under any circumstances.
Look above your closed garage door. If you see two tightly coiled springs wrapped around a horizontal shaft above the center of the door, you have a torsion system. If you see long springs stretched along the horizontal tracks near the ceiling on both sides, you have an extension system. The spring type determines both your DIY risk profile and the parts required for repair.
Probably not. California insurance policies typically exclude damage caused by faulty self-performed work, meaning a botched DIY repair that damages your car, your home, or a family member may leave you personally liable for the full cost. Professional repairs shift that liability to the service provider’s insurance coverage.
Los Angeles homes most commonly feature openers from LiftMaster, Chamberlain, Genie, and Craftsman, with door panels from Clopay, Amarr, Wayne Dalton, and Raynor. Each brand has specific failure modes, part compatibility requirements, and maintenance schedules. Working with a technician who services eight major brands rather than a single product line ensures correct diagnosis and parts on the first visit.
Most professional garage door repairs in Los Angeles take between 45 and 90 minutes on-site, assuming the correct parts are on the truck. Spring replacements, cable replacements, sensor realignments, and opener repairs all typically complete within the same service visit. Complicated multi-component failures or full system replacements may require a follow-up appointment.
For answers specific to your situation, call (877) 588-8251. We’ll tell you honestly whether the fix is something you can handle yourself or something that needs a professional.
The Bottom Line
The DIY vs. professional garage door decision in Los Angeles isn’t about pride or capability. It’s about correctly identifying whether the failed component stores mechanical energy. Weatherstripping, sensors, remotes, and lubrication are your domain. Springs, cables, bottom brackets, and panels belong to trained technicians with the right tools and insurance. The cost savings of DIY disappear quickly when a mistake creates additional damage or injury, and California insurance rules make the downside steeper than most homeowners realize. Do the safe tasks yourself, do the diagnostic work to speed up professional service, and call a specialist for everything else.
Ready to Get Your Garage Door Fixed?
If you’ve identified a problem that needs professional attention, or you’re not sure which side of the line your issue falls on, call Onyx Garage Door Service at (877) 588-8251. We work on LiftMaster, Chamberlain, Genie, Clopay, Amarr, Wayne Dalton, Craftsman, and Raynor systems, which means we know your specific brand and can diagnose it quickly. Free estimates, upfront pricing, and no upsell pressure. From a broken spring to a full new installation, one company, one call.
Written by the team at Onyx Garage Door Service, serving Los Angeles since 2014. We specialize in garage door repair, garage door opener repair, and garage door installation across the Los Angeles area.